
I’ve always loved dill pickles. I love them in every incarnation of their existence. I love them from the darling baby cucumbers emerging on the vine, to freshly sliced cucumbers waiting for the jars, to brine-covered cucumbers and dill and garlic waiting bright and fresh in their jars before being lowered into the canner, to the final product of crisp, mouth-puckering bites of deliciousness. As with so much food, it’s as much about the memories as the food itself: remembering the aroma of my mom’s tangy, salty brine as it permeated a house with the unmistakeable scent of late-summer preserving; the memory of my aunt’s voice telling my cousins and me how to fill the jars with cucumbers, skins facing out, so they looked pretty; taking turns with the other girls as we scooped just the right amount of the spices over the filled jars; experiencing the delight of those first tangy bites and the pride of knowing we’d created such goodness ourselves. Every step of the process when I make pickles, every bite of the resulting delicacy, is loaded up with good memories.


This is my third summer in Oregon, my third summer as a stay-at-home mom, and my third summer that I’ve not spent in teacher trainings or doing long-term lesson planning or trying to get in to my classroom early to get it set up before in-service days and an August school year start up — which means my third summer since leaving home over fifteen years ago that I’ve had time to think about doing any canning. It’s our second summer gardening in our new home. And it’s my first summer with a satisfactory pickle recipe. For the last two summers, I’ve been sorely disappointed with my pickles. The first pickles I made, my first summer in Oregon, were fairly good, but that turned out to have been the result of a mistake in my following of my selected recipe — I believed I’d left out the salt, so I ended up doubling it. The next time I used that same recipe, I followed it scrupulously, and the pickles were terribly bland and tasteless. So this summer, giving up on other people’s recipes, I set out to make my own.
After several false starts, including an attempt to make my pickles crisp with grape leaves (major fail), I finally came up with pickles that taste to me like the pickles of my childhood — though my mother, during a weeklong visit in which she rescued me from an avalanche of produce, gently disparaged my pickling spice blend as “fancy yuppie spices.” (Don’t worry: she fully redeemed herself by complimenting my meatloaf.) Her pickles were more simple: cucumbers, dill, and brine. I remember loving those pickles, but I also remember my aunt’s pickles, which did use a few spices, and since those are the ones I was old enough to remember helping to make, that’s what I used as the model for this recipe. So there.
Before I launch into the recipe, some words on canning, if you will. First: despite my background, growing up in a subsistence lifestyle, living alternately on a commune, a trapline, and back on the commune, and spending that time baking and cooking and preserving for all I was worth, I am not an expert on canning and preserving. I was a kid during that time, following other people’s instructions. My memories are a bit foggy, and I don’t have recipes from back then. My knowledge comes from picking my mom’s highly experienced and knowledgeable brain, reading cookbooks like The Ball Complete Book of Home Preserving, scouring the Internet for ideas, and obsessively reading the FDA and USDA’s online pages and various university-hosted pages on home preserving safety. I’m sharing my newfound knowledge with you because I’m having so much fun learning and making food, and I’m the kind of person who can’t not share. Once a teacher, always a teacher — and combined with a predilection for writing, this is what you get. This blog is a record of my journey in gardening and home preserving, not a declaration of my expertise.
Second: Despite not being an expert, I have done my research. Recipes like this depend on a certain acidity level to be safe for canning. If you wish to modify my recipe, please please please do your own research before altering the vinegar/water proportions in the brine. The salt in this type of recipe — a fresh pack dill pickle recipe (not a traditional fermented pickle, in which the salt quantity does matter enormously) — isn’t as important, and you can alter that to suit your own taste without worrying about safety, but the vinegar balance is essential.
Those of you who have read my recipes, you know the drill: I explain stuff a lot. If you want to skip all that, just scroll. Keep scrolling. A little more… There you go. You’ll find the actual brine recipe and pickling instructions near the bottom. You’re welcome. (But don’t blame me if you miss something essential as you skim downward.)
Before you begin, make sure you have all your tools and materials ready. For this type of canning, you don’t need a real pressure canner. You just need a pot big enough to hold all your jars, with a rack on the bottom to elevate them so they don’t contact the pot, and deep enough that the water can cover the jars by a full inch with plenty of room to boil. I do use a pressure canner, because it’s hard to find another pot that’s big enough to fit the above criteria, and because it makes me feel like I’m doing something exciting, but I have so far never used it for pressure canning — I just use it as a giant pot for boiling water. I’ll be honest: the idea of actual pressure canning scares me. It would scare you, too, if you’d ever walked into a kitchen covered ceiling to floor in exploded jar and green bean fragments.
You need a few tools besides the large pot or canner, too. You can get most of these together in a set at a farm store like Wilco, at your local grocery store during canning season, or in an online search at many shopping sites. Besides your jars, the most essential tool is a set of canning tongs. These tongs have a curved, rubberized gripper that’s just right for grabbing hot jars and moving them in and out of boiling water, and the positioning of the handle is such that you can pour water out of them after sanitizing without scalding yourself. As I said, essential. Nearly as essential is a wide-bottomed funnel, which will help you fill jars without drips.
A less essential, but still handy, tool is a magnetic lid lifter (useful for lifting flat lids out of hot water when you’ve sanitized them) or — my preference — a lid rack with a long handle, which you can lower into the recently-boiled water in your canner after sanitizing your jars, while you fill them. You also need something with which to release air pockets when you’re making foods like pickles. A canning set comes with a flat plastic tool for this purpose, with one end notched for measuring the space at the top of the jar in case you’re obsessed with perfection. A butter knife works perfectly well if you don’t feel like purchasing a whole set of canning tools.
There is just one more tool you may like to have on hand for pickling: food-grade rubber gloves, similar to those used in hospitals but without the powdery smell. I use a fair amount of garlic in my pickles. If you don’t use gloves for peeling and slicing garlic, you may wish to have a nice lemon-oil salt scrub on hand to neutralize the garlic odor, which permeate your pores and will hang on for days when you prepare garlic in these quantities. I bought some gloves for chopping jalapeños for salsa, and have subsequently forgotten I have them until after I’ve finished chopping garlic every time I’ve cooked since then. My hand scrub supply has become sadly depleted.


Jars, of course, are essential. Since I use small pickling cucumbers, widemouth pint jars are just right. If you use larger cucumbers, you could use quarts — in which case you should double all the per-jar ingredients I give further down. To can safely without risk of bacteria growing in your food, you need to start with sanitized jars. A lot of people recommend sanitizing your jars in the dishwasher, but I don’t like this approach, and here’s why: 1) If your dishwasher is running to sanitize your jars, you can’t use it to hold your dirty dishes while you prep your food. 2) You need to heat your canner full of water anyway so that you can water bath your jars full of food, and you might as well take that energy to sanitize the jars at the same time. 3) Your dishwasher doesn’t get as hot as a boiling pot of water. If your jars aren’t thoroughly sanitized, you need to process the food-filled jars longer — and the less you process the food, the better the flavor and the quality. So I start my canning sessions by placing my clean, lidless, widemouth pint jars into the canner, and filling the jars and canner with water to at least an inch above the top of the jars, making sure there’s room for the water to boil. Then I put the lid on, place the canner on the largest burner, and turn the heat on high. It takes quite awhile, on my elderly cooktop anyway, for the canner to heat — sometimes I’m nearly done prepping the food before it’s done heating. When it does boil, I turn the heat down a bit and make sure it boils for at least ten minutes before I turn the heat off.
I leave the jars in the canner to stay hot, away from dust, and out of drafts until I’m ready to fill them. They need to stay hot because you’ll be filling them with hot food; you don’t want to pour hot food into cool jars, because there’s a chance they could break or become stressed (and break later). Ditto with hot jars sitting in a draft. You want them away from dust because dust can disrupt a good seal. So just leave them in the canner, where they’ll be safe, and you’ll have more counter space for working as well. Win-win.
Unlike the jars, you don’t want to boil the lids — boiling can degrade the rubber seal. If you have a nice lid rack like mine, you can lower the lids into the canner after you take the jars out, or once the canner stops boiling if you have room in the canner. This will sanitize them as much as they need, and will soften the rubber to ensure a good seal. If you don’t have a long-handled rack, put the lids into a shallow dish, pour some of the hot water from the canner over them so they’re all covered, and let them sit while you fill the jars. This is where that magnetic lid lifter comes in handy, so you can lift them out without burning your fingers. Otherwise, of course, you can pour the hot water off right before you’re ready to put them onto the jars.


On the topic of jar lids: I’m a very thrifty person. I reuse whatever I can. The one thing I don’t reuse is flat jar lids for canning. Why? Because I know that the heating process the lids undergo when the food-filled jars have been boiled for canning will begin to degrade the rubber seal. It may not be visible immediately, but it’s happening. Reused jar lids may seem to seal just fine, but might slowly lose their seal over time as the jars sit on the shelf, allowing the food to spoil. If this happens, the best-case scenario is that you lose your hard-won preserved food; the worst-case scenario is that the spoilage doesn’t leave any noticeable signs, and your family gets sick with food poisoning. So, please don’t reuse your jar lids. Additionally, as you’re counting out your brand-new, unused jar lids, check the rubber seal for any damage. If there are scratches or bubbles in the seal, throw them away. And if you, like me, save your used lids for casual food storage, double-check that you don’t have any damaged lids that accidentally got mixed in with your brand-new boxed ones — if the lids are bent or warped in any way, throw them away.


Now comes the fun part: pickling! (This is where you should stop scrolling if you were trying to skip all the pre-recipe explanations.)
You can use this recipe to make fresh-pack dill pickles with cucumbers, lemon cucumbers, and even zucchini. Don’t expect the lemon cucumbers, and especially the zucchini, to turn out with the same crisp texture that you get from cucumbers. My approach was this: I used my nice small pickling cucumbers to fill the bulk of my jars. Then I sliced up a few lemon cucumbers to top off a couple of jars whose cucumbers were too short to reach the top, and filled a jar or two with just lemon cucumbers to finish off my batch so I had a full canner. I did two jars of experimental zucchini pickles, which turned out as I expected — lacking in crispness and possessing a certain squeaky texture, but having a perfectly acceptable flavor. Later I sliced a few large zucchini into rounds for sandwich pickles, reasoning that the texture of a pickle on one’s hamburger doesn’t matter as much as the pickles one uses for munching. I’ll use the zucchini pickles for chopping up for chicken or potato salads because, once again, flavor matters more than texture in that type of thing.


Start by buying or picking as many cucumbers as you want to turn into pickles; I’m leaving the amounts in this recipe up to your discretion, because the only part for which amounts really matter, as far as safety in canning, is the brine, and that’s storable for later batches. I found that about ten small pickling cucumbers filled three pint jars, to give you an idea of what you might need. You can find these small cucumbers at farmer’s markets or grow them yourself; I’ve never seen them for sale at a grocery store. Of course, you can use ordinary large cucumbers, but they won’t turn out quite as crisp as the little cucumbers. If you’re buying your cucumbers rather than growing them, don’t go looking for lemon cucumbers or zucchini for pickles; they really don’t result in pickles with excellent texture. I used them because I had an overabundance of them in my garden, and a limited supply of pickling cucumbers.
Besides cucumbers, you’ll also need to collect a few more ingredients. You need:
- White vinegar, four cups
- Pickling salt, 1/4 cup (specially designed to dissolve easily and stay dissolved without leaving any residue)
- A large amount of garlic, about 3 cloves per pint
- One large or two small heads of dill, or two or three leaf sprigs, per pint (I just buy a whole bunch of dill and use it for several batches — see below)
- A blend of pickling spice, such as my own very easy recipe,
- Or — if you don’t have enough individual spices on hand to make a whole recipe of the spice blend — you need a bit of mustard seed, coriander, black peppercorn, and red pepper flakes, plus pickle crisp granules. If you do have enough spices, you’ll really save time by just blending them ahead, I promise. You can find pickle spice blends already prepared in the baking section of grocery stores and at farm stores, but it’s more fun to make your own, and then you can adjust it to your own taste.
 Pickling spice mix, with pickle crisp already added.
 Sliced cucumbers, garlic, dill, and spices ready to assemble in jars.
 Cucumbers, dill, garlic. I let my cucumbers get a bit overgrown.
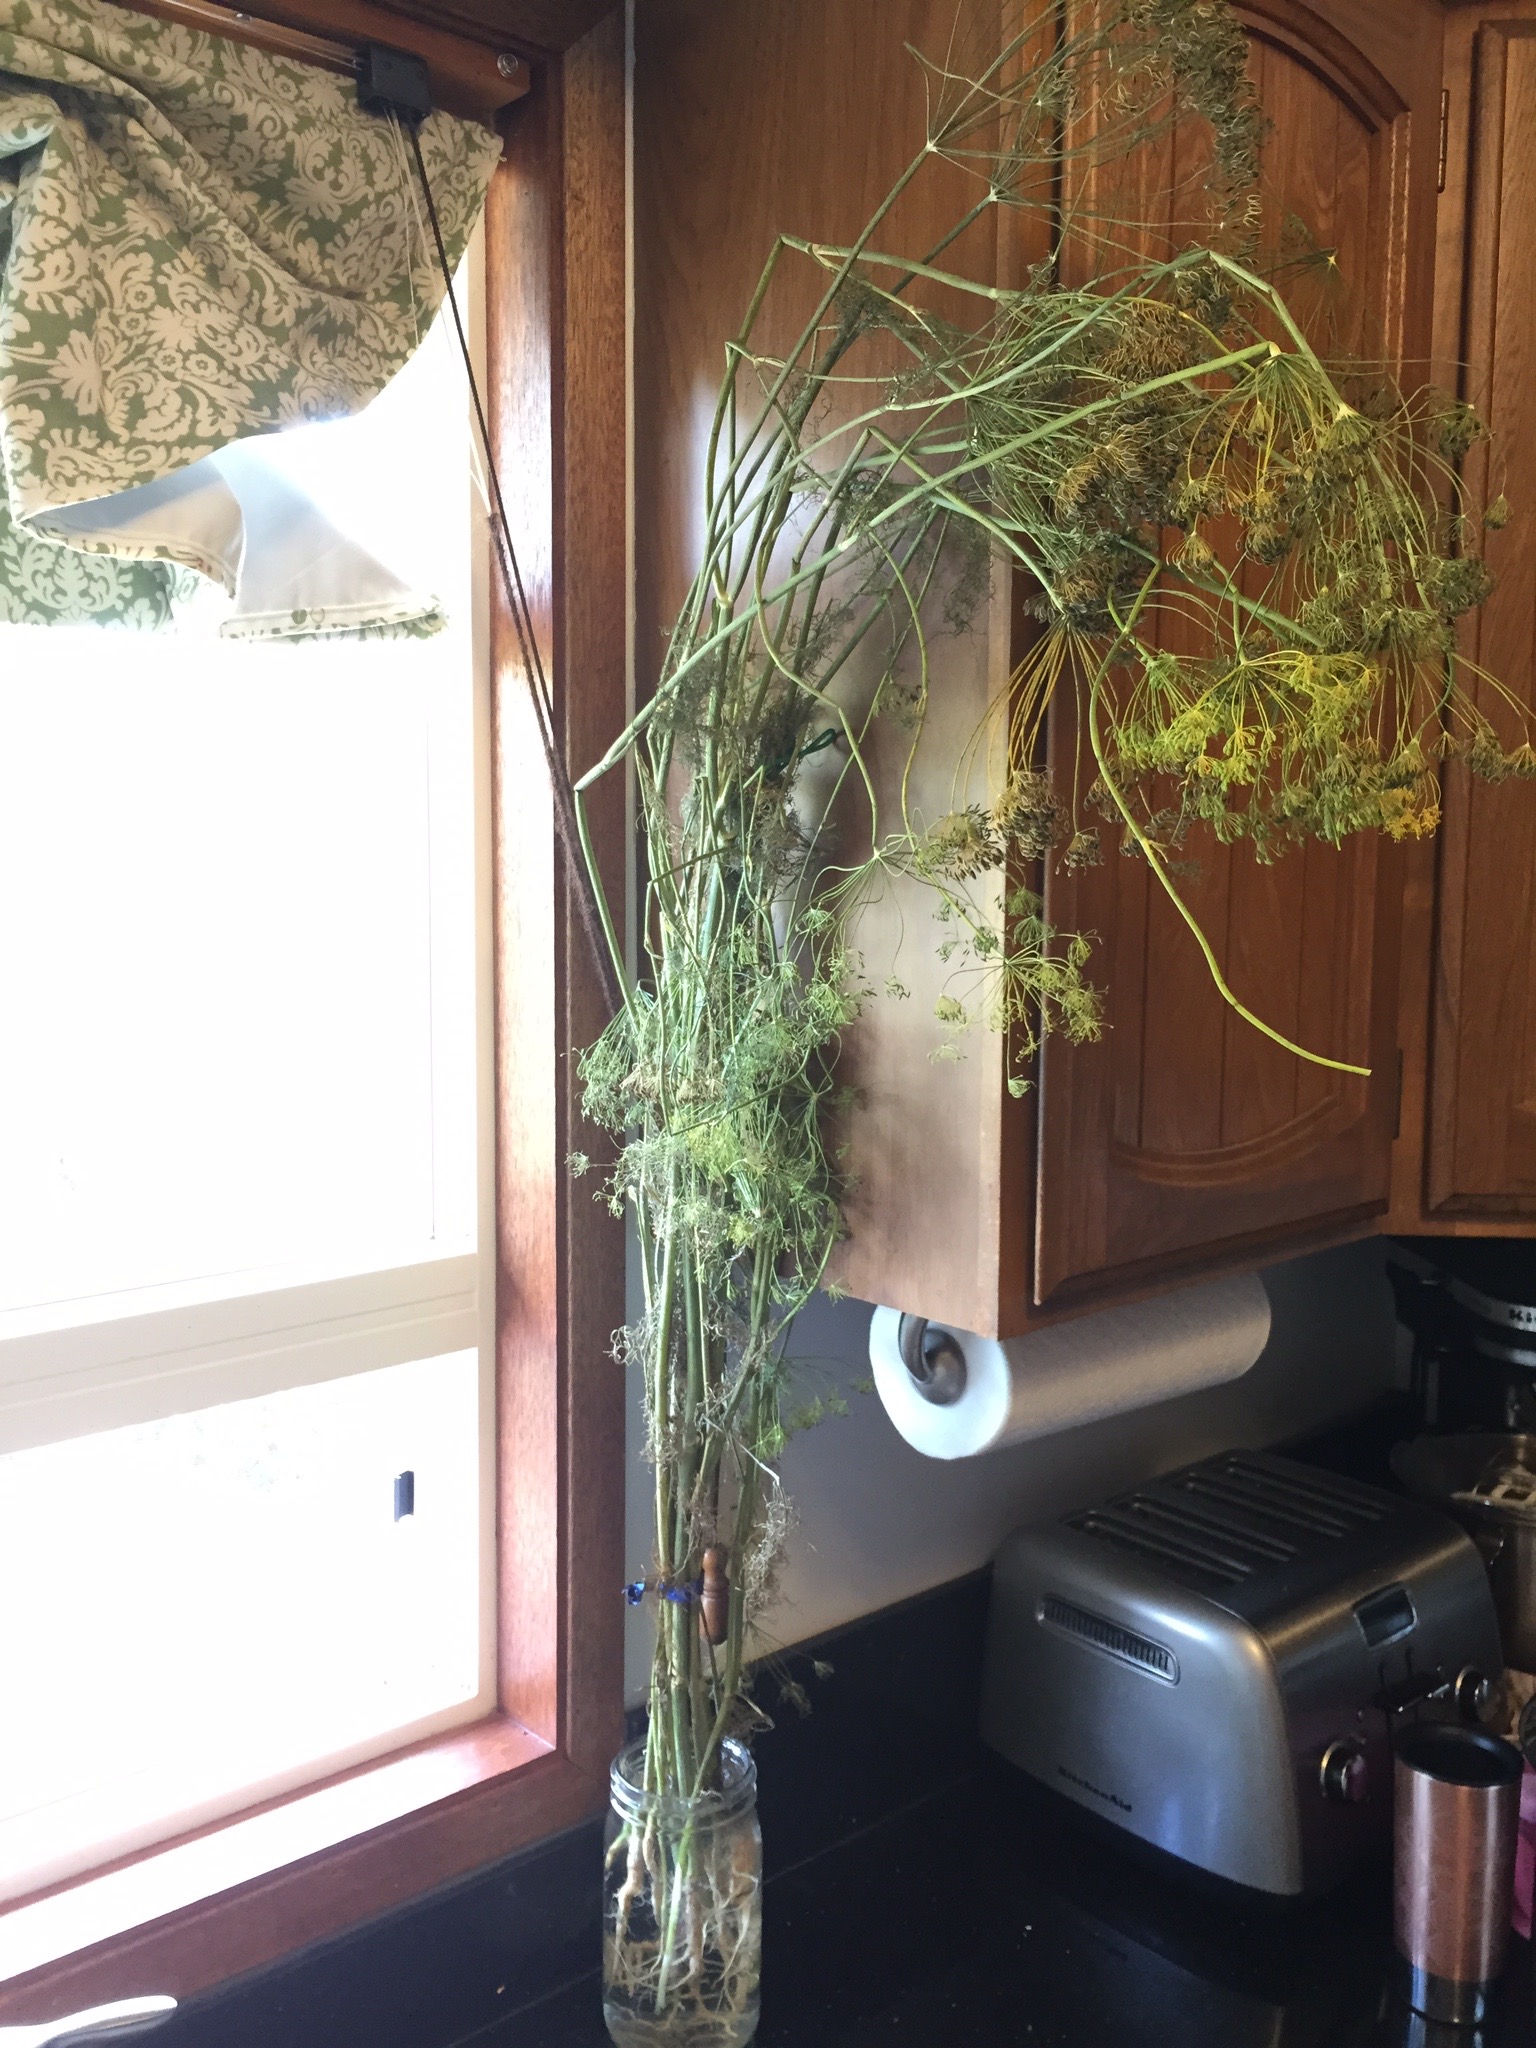
During the summer, you can often find whole dill plants, root and all, sitting in water at the grocery store or in farmer’s markets. Since I made pickles all summer, I bought dill this way instead of getting the baby dill. The young flower heads or just-developed seed heads have way more flavor than baby dill leaves. I kept it fresh in a jar of water on the counter till I was ready to use it. Then I trimmed off the heads and the freshest leaves, cut them to usable sizes, and sealed the leftovers into freezer bags and put them into the crisper drawer in the fridge. They kept really well there. Of course, it would have been even better had the dill I planted survived so I could have harvested my own as I needed it. Oh well.

When you’re ready to make your pickles, start your canner and jars heating as described above, and then make your brine. This is a very simple recipe. It makes enough brine for about a dozen pints of pickles (or about six quarts, if you’re using the larger cucumbers), and it keeps very well. I make the whole large recipe and then save it for subsequent batches, since typically I don’t have enough cucumbers for that many jars of pickles. In a large pot, combine:
- 12 cups of water
- 4 cups of white vinegar
- 1/4 cup pickling salt
Cover the pot and let the brine heat to boiling, then turn it down to medium low to boil gently for about five minutes; then turn it down low or off, depending on how far along in your vegetable prepping process you are. It doesn’t have to be at boiling temperature, just hot, to fill the jars, and if it boils too much, some liquid will boil off and it will taste too salty.
Speaking of too salty, this is a good time to remind you that the salt is a variable that can be safely adjusted to taste. Before I finalized this recipe, I put a few cucumber slices to sit for a couple of days in small containers in the fridge in both this brine and another similar (saltier) one, with some garlic, spices, and dill, to decide what salt level I liked best. To me, this brine — which is saltier than most recipes I found in my quest — is absolutely, 100% perfect, while my husband thinks it could be saltier. Feel free to adjust as desired.
While the brine heats, prep the cucumbers and other vegetables. Start by checking for bitterness; I do this after soaking, rather than before, based on the unproven, highly optimistic hope that soaking will help to remove some already-developed bitterness. Slice a sample off each end of each cucumber — especially the larger ones — and take a taste. If both ends are very bitter, throw the cucumber away. If just one end is bitter, cut an inch or so off that end and taste again. Repeat until you get to a place with good flavor, but discard the cucumber if necessary — an unbearably bitter cucumber will make a yucky pickle. Usually, the smaller cucumbers will be fine. There is a last-ditch trick you could try if you want to save your bitter cucumbers: cut a chunk off the bitterest end and rub it in vigorous circles over the place from which it was just removed. You’ll see foam forming on the sides that are in contact. Wipe the foam off and keep rubbing till no more foam forms, then taste another slice of the cucumber. Sometimes this works to pull out the bitterness. It’s worth a try.
Once you’ve made sure your cucumbers have good flavor, start prepping them for the jars. Out of habit, I slice my cucumbers into quarters, since I grew up using large cucumbers that needed to be sliced to fit into the jars. With small cucumbers, this isn’t entirely necessary, and you may find they maintain crispness better if you leave them whole. Old habits die hard; I can’t bring myself to leave them whole, but if you’re new to this, maybe you’ll be able to give it a try. Something to consider if you’re trying to decide on an approach is that you’ll be able to fit more in if you quarter them, so it’s much more space-efficient both in terms of jar use and shelf space to slice them. Either way, you do need to make sure that your cucumbers are the correct length for the jars. The food in the jars need to be clear of the rims by at least 1/4 inch — here’s where that nifty little plastic tool with notches at the end that comes with your canning kit could come in handy. Trim the ends off to make sure they aren’t too long. Since I don’t like wasting food, I save all the ends up and do a jar of little bite-sized pickles. You could also use these little pieces to fill a small container, along with garlic, spices, dill, and brine, and put it into the fridge, so you can enjoy the pickles within a few days without opening a jar.
Peel your garlic and cut the cloves into quarters in order to allow the full goodness of their flavor to seep out into the jar. And here, because I’ve inherited my father’s need to overexplain (as if you hadn’t noticed), I’d like to discuss averages. The average garlic clove, quartered, is just right for this. But in any given head of garlic there will be a wide range from itty bitty to enormous. So there will be some cloves that you’ll leave whole and count as a quarter, some that you’ll halve, and some that you’ll cut into sixths or eighths. You’ll figure it out, I’m sure. No doubt most of you worry about this sort of precision much less than I do, and you’re already happily chopping away and shaking your heads over my need to explain. You need about eight to twelve quarter-cloves per jar: six in the bottom, and six in the top, unless you start running out, in which case I give you full permission to skimp on the garlic and put just three or four in the top.


If you haven’t already done so, cut your dill heads into manageable pieces. You need one good-sized head or two to three small ones (see above re: averages) for the bottom, and the same for the top of each jar.
Make sure you have your spice blend ready to go, or if you didn’t pre-blend your spices, have your spice jars and your pickle crisp container lined up with a little scoop in each.


Lay a towel out on your counter — remember, it’s not a good idea to put hot jars onto a cool surface — close the window — because hot jars don’t like drafts — and lift the jars out of the canner onto the towel. Keep the water at its original level in the canner by pouring some of the water from the jars back into the canner, and some out into the sink. If you have a long-handled lid rack, lower it into the hot water once the jars are out. If you don’t, pour some of the hot water from a jar over the lids in a shallow pan.
Now you may start packing your jars. Drop a head or two of dill and six garlic quarters into each jar. Then tilt a jar onto its side and begin laying cucumbers onto the glass, skin-side down, like so:


Placing the cucumbers skin-side out matters only for aesthetics. If you don’t care how your jar looks, just jam the cucumbers in however you want. I’ll try not to judge you. If you do care how it looks, keep stacking them up neatly, and each time a cucumber is near or against the glass, turn it skin-side out. Once the jar is fairly full, set it right-side up and work a couple more slices down into the jar. Do one more check that the cucumbers clear the top of the jar with plenty of space, and if there’s not room for the final addition of garlic and dill, do another trim with a sharp knife of scissors.
Once you’ve used all your cucumbers and filled as many jars as possible, add to each jar:
- One or two heads of dill
- Six quarter-cloves of garlic
- 1/2 teaspoon of pickling spice blend, or
- a little pinch each of mustard seed, coriander, black pepper, and red pepper flakes (tiniest pinch yet), plus 1/8 teaspoon of pickle crisp granules; use 1/4 teaspoon of the pickle crisp if you’re using zucchini or lemon cucumbers (but don’t expect them to be as crisp as cucumbers)
After one more check that the addition of garlic and dill leaves 1/4 inch of headspace at the top of each jar, position your funnel over each jar and use a measuring cup with a pour spout, or a large ladle, to pour hot brine into each jar so that it covers cucumbers, dill, and garlic. Slide the long, flat tool that came with a canning set, or a butter knife, down into each jar into a couple of spots, wiggling gently back and forth, to release air bubbles. Add more brine if necessary.


Get a damp paper towel or clean cloth. Carefully wipe the rim of each jar, using a fresh area for each jar, making sure there are no stray bits of dill or spice or splashes of brine remaining on the edge. Anything of this nature could disrupt the seal. Once all the jars have been wiped, place a flat lid onto each jar, checking for flaws as you go and discarding any that have problems (of course, you already did this once, but perhaps you’re as paranoid as I am). Then place the rings and tighten them down. Turn the heat on under the canner, and use the tongs to lower the jars into the water. Replace the lid and bring the canner back to a boil.


Process the pickles for ten minutes. Just to be clear, the timer for water bath processing begins when the water boils, not when you put the jars into the canner. After ten minutes, use the tongs to pull the jars out and place them back onto the towels. Do not touch the tops of the lids. You should hear the gentle, musical pop of lids sealing fairly soon, but some jars could take up to 24 hours. I repeat, do not touch them while you wait. If you push the center down, causing a “forced seal,” it’s impossible to know whether that jar would have sealed on its own or not. So don’t touch them until they have all sealed and are thoroughly cooled, at which point you should be sure to write the contents and date on stick-on labels for each jar. Home-canned food can easily keep for a year.
If any jars don’t seal after 12 to 24 hours (or if you disregarded my stern command to not touch the jars, thus causing a forced seal), you have two choices. You could reheat the canner to boiling with the jars inside (I would gently unseal the forced-sealed ones first, using thumbs to push the lid off rather than a can opener, then put the lids back on), process for 10 minutes at boiling, and leave them again to see if they’ll seal. Or you could shrug and take what is most likely your single unsealed or force-sealed jar and put it into the fridge, where it will be the first jar of pickles you’ll try out.
Let the pickles steep in their brine for a few days or, for the best flavor, for about a week before you try them. Finally, after the interminable wait of a couple of days (or, if you’re really patient, a week) for the flavors to penetrate the cucumbers, comes the very best part: the crunch and the garlicky salt-and-sour flavor of a perfect pickle.


2 thoughts on “An Overexplainer’s Guide to Excellent Dill Pickles”