
Last spring, a year after moving to Oregon, we purchased our “forever home”: a 1979-built house on two acres of lovingly tended land. We were enormously excited to discover that we now own two apple trees. Neither of us had ever lived in apple country before. I had lived in northern British Columbia and Ontario before moving to Alaska, and Aaron had lived first in desert states and then in Alaska. Fresh apples from our own trees! Heaven!

The day Aaron picked the apples, he harvested 300 pounds of usable apples, plus another 100 or so that had been damaged by worms. You can imagine we were anxious to find ways to use them all. Aaron used a lot of them to press for cider – that’s another story. I made what seemed like vast amounts of applesauce, apple leather, and dried apples. That is, the amounts seemed vast while I was toting around a 9-month-old, making frequent nursing breaks, and fielding endless questions from a curious 4-year-old. After the supply of apples was exhausted, of course, what I had made seemed far less than adequate. There’s always next year to make even more, right? (Yes, we’ll be getting much, much, much more this year.)
Learning to make dried apples was an exercise in patience, as I tried several approaches over three or four weeks. I feel that I’ve perfected the method now. I can’t get enough of those things – I could eat them all year and not get tired of them. (Hint: skim aaalllll the way to the bottom for a short-and-sweet recipe that will fill 4 dehydrator trays with apple slices.)
Step 1: Prep the apples.
When I started making dried apples, I left the skins on, used a cylinder-shaped coring tool to punch out the cores, and used a mandolin to slice the apples. The mandolin, being cheap and weak, didn’t work all that well — the slices weren’t all the same thickness, they were weirdly corrugated, and it cut aggravatingly on a slant — but it was much faster than slicing by hand. The corer was faulty too: it was difficult to aim correctly, and it was smaller than the actual apple cores, so I kept getting leftover core in the apple, and removing good apple flesh with the corer.
Then one wonderful day, I visited Wilco, a local farm store, and came across an amazing device: an apple peeler-corer-slicer made by Weston, a maker of sturdy and useful farm-kitchen products. I adore this tool – not, however, as much as Niko and Sofia do. Sofia can actually turn the handle herself given a crisp enough apple, and ohhhh the thrill!

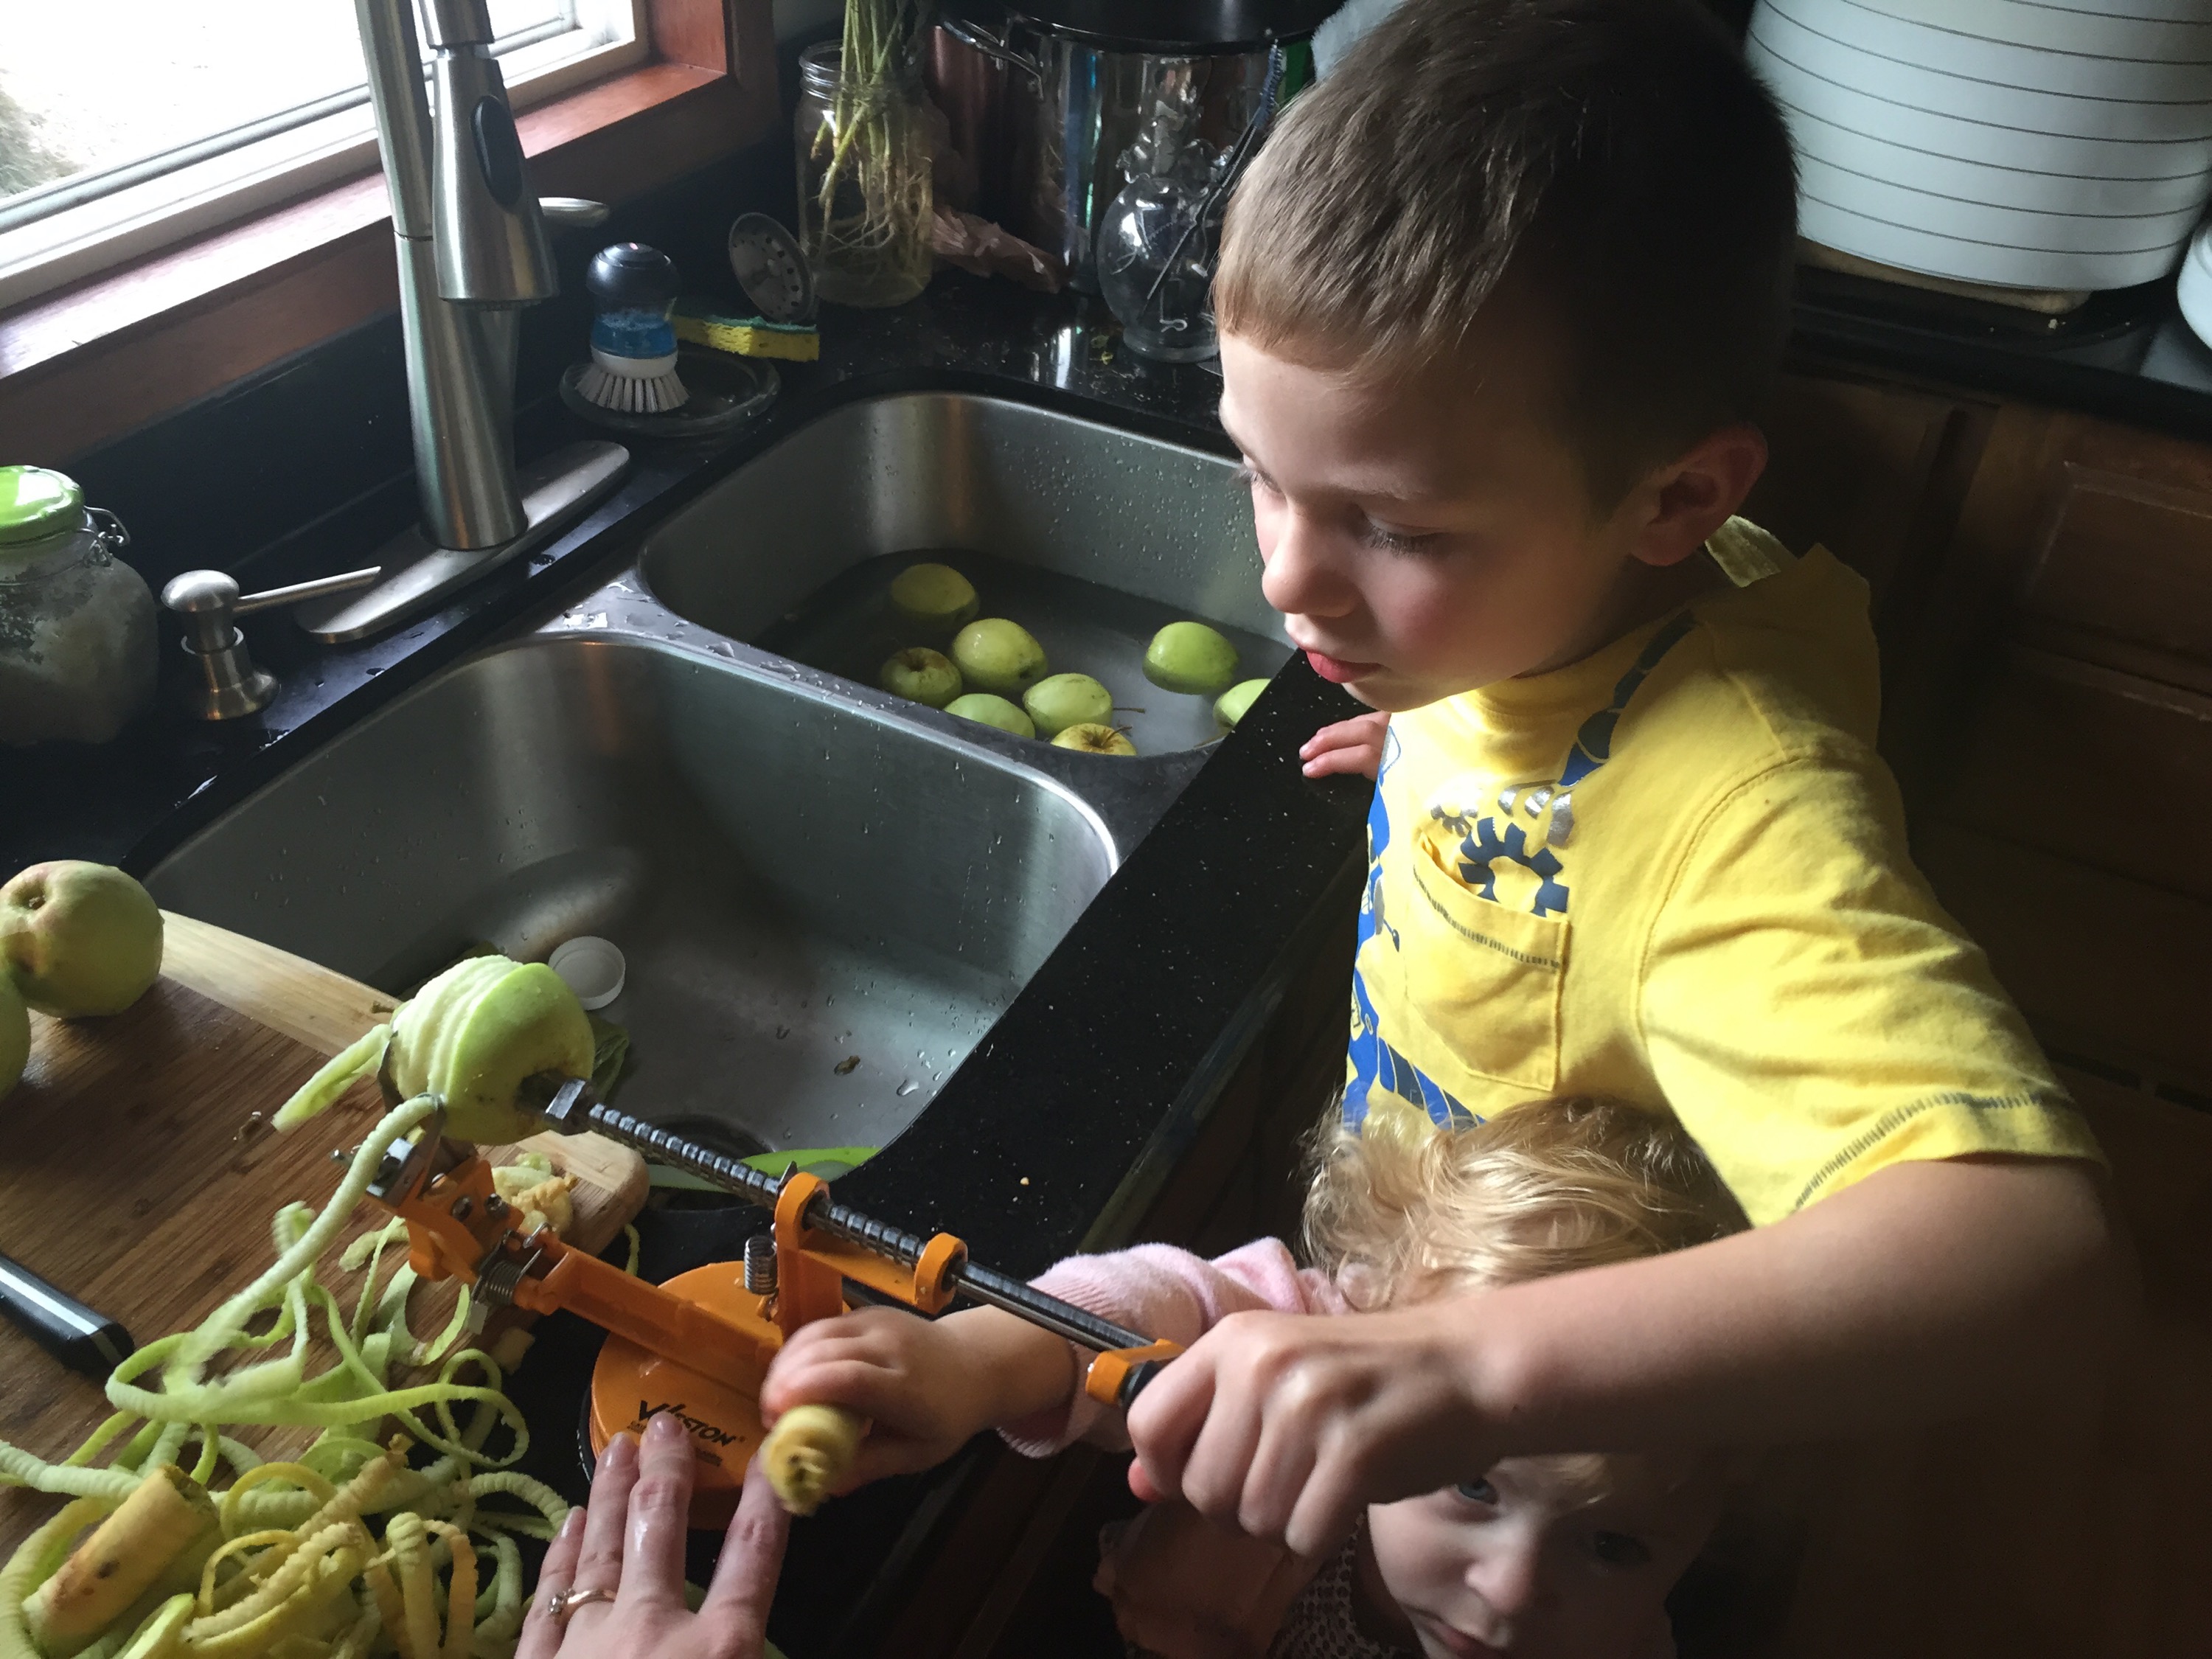
 You can see details on the slicer here. Using this delightful tool, I now know that dried apples have a better texture without the peels. It’s not enough of a difference that I’d hand-peel dozens of apples if I didn’t have it, though, especially since everyone knows (says my mother) that all the good vitamins are in the skin. Right?
Anyway, the point is, for dried apples, you want fairly thin slices, around 1/8 inch thickness. Slice in rounds from end to end after coring. They need to be the same thickness so they dry at the same rate, so unless you have a very steady hand, slicing them by hand isn’t that great. Good tools: a mandolin (a high-quality one), a Kitchen Aid-type slicer attachment, a manual countertop slicer. If you use a peeler-corer-slicer like mine, the apples will be cut in a giant spiral, so you can just make a slice right down one side of the spiral to get a stack of neat circles. Start with about 6 apples to fill 4 trays on a dehydrator.
Step 2: Blanch the slices.
Don’t skip this step. When I started, I thought I would make lovely unsweetened dried apples that were as close to their original state as possible, thus preserving all the natural goodness and removing unnecessary sugar from my children’s diet. They were…okay. Mediocre. Nothing to write home about. Actually, they were tough and much more tart than the original apples. I came to the realization that blanching is really helpful. Also, dipping them into sugar water doesn’t increase the amount of sugar in this snack a substantial amount. They’re still barely sweetened, very healthy, vitamin-rich, high-fiber food items!
Over the final weeks of last summer, I tried various blanching methods until I finally got it just right.
Fill a medium stock pot with 8-10 cups of water, leaving room to add apple slices. Add 1½ cups of brown sugar, ½ cup of honey, ¼ cup of cinnamon (the bulk section at the grocery store is your friend here – or Costco), and a hearty sprinkle of nutmeg – let’s say 1 teaspoon if you like it as much as I do. That is a lot of nutmeg; I am a big fan of nutmeg, and you can distinctly taste it in the dried apples, so cut it back if it’s not your favorite flavor. Heat the mixture just to boiling, then turn the heat down low. On my JennAir range, circa 1985, this keeps the water barely moving. I wouldn’t even call it a simmer. But the point isn’t to cook the apples – just give them some flavor, and soften them a bit so they’re not tough once dried. And the sugar actually seems to improve the texture, too. Leave them in the blanching liquid for 1-5 minutes at a simmer till barely soft, 5-10 minutes if the water is merely very hot (a good idea if a toddler is helping you), then scoop out. You won’t hurt them if you’re distracted by a squalling toddler and leave them in there for ten minutes or so, as long as it’s really not boiling, but they don’t need that kind of time. The reason I’m giving such a wide range of time for blanching? When I was making these, I was slicing a pile of apples, tossing them in, slicing, tossing…till the pot seemed full, then stirring for a minute and scooping them all out, and I found they all turned out about the same. This is the least scientific cooking I’ve ever done, but amazingly enough, they’re just fine! I use a wide mesh ladle for scooping, which also works well for distributing them around the rack.
 This is a good place to add a piece of advice: If you plan to make more dried apples, don’t dump out your blanching liquid when you’re done. Cover it and refrigerate it until you’re ready for the next batch. You should have plenty to do at least one more. No need to waste all that lovely cinnamon!
Step 3: Arrange on the drying racks.
Spread the slices on dehydrator racks, or on cooling racks on cookie trays. The important part here is to leave room for air circulation, while maximizing space. Translation: Don’t let the pieces touch.
 I have learned to put a fruit leather tray under the bottom rack in the dehydrator to catch drips. It makes the bottom rack a little unsteady, so be cautious if you’re moving the dehydrator after filling the racks. The tray makes cleanup much, much easier, since it — unlike the dehydrator base — can be immersed in water.
Step 4: Dry.
How long you let them dry depends on how you like your apples. I like mine two ways: just barely dried, so they’re velvety-soft, and crispy. For velvet-textured apples, turn the dehydrator’s temperature setting on 135-140 and dry for 4 hours. Check them periodically. The apples at the bottom of the stack of trays, and the smaller circles, dry faster, so some might be done after only three hours while others may need five. For crispy ones, set it for 140 at 6 pm, intending to turn off the dehydrator at bedtime, and then go into the garage at 9 the following morning to do laundry and discover it still running. That worked just perfectly for me.
If you don’t have a dehydrator, place the baking sheets that you filled in step 3 into an oven set to “Warm” (unless the temperature setting on your oven goes all the way down to 135 – mine doesn’t) for about four hours, checking periodically to see how the texture is. It might be useful to first use an oven thermometer to see how hot “Warm” actually is, since you would need to adjust your time if it’s over 140.
Step 5: Devour.
Eat them by the handful. Put them into school lunches. Cut them up into granola or cook them in hot oatmeal. Mix them with pretzels, cranberries, and nuts for a fall time snack. However you eat them, expect them to go fast. You’ll be lucky if they last a day. They’re that good!
Here’s a less chatty format for those who want to read a recipe the traditional way:

This post has been updated with current photos, corresponding dates so readers who know me aren’t confused, and slightly improved information. Enjoy!

mmm crispy apple chips!
LikeLike
Note that, although your mother does say [tongue in cheek] that all the vitamins are in the skin, she also prefers skinless dried apples.
LikeLike
Well, I do too. That’s why I was so excited about that magical peeler. The texture is so much nicer without skin.
LikeLike