Slugs, Begone!

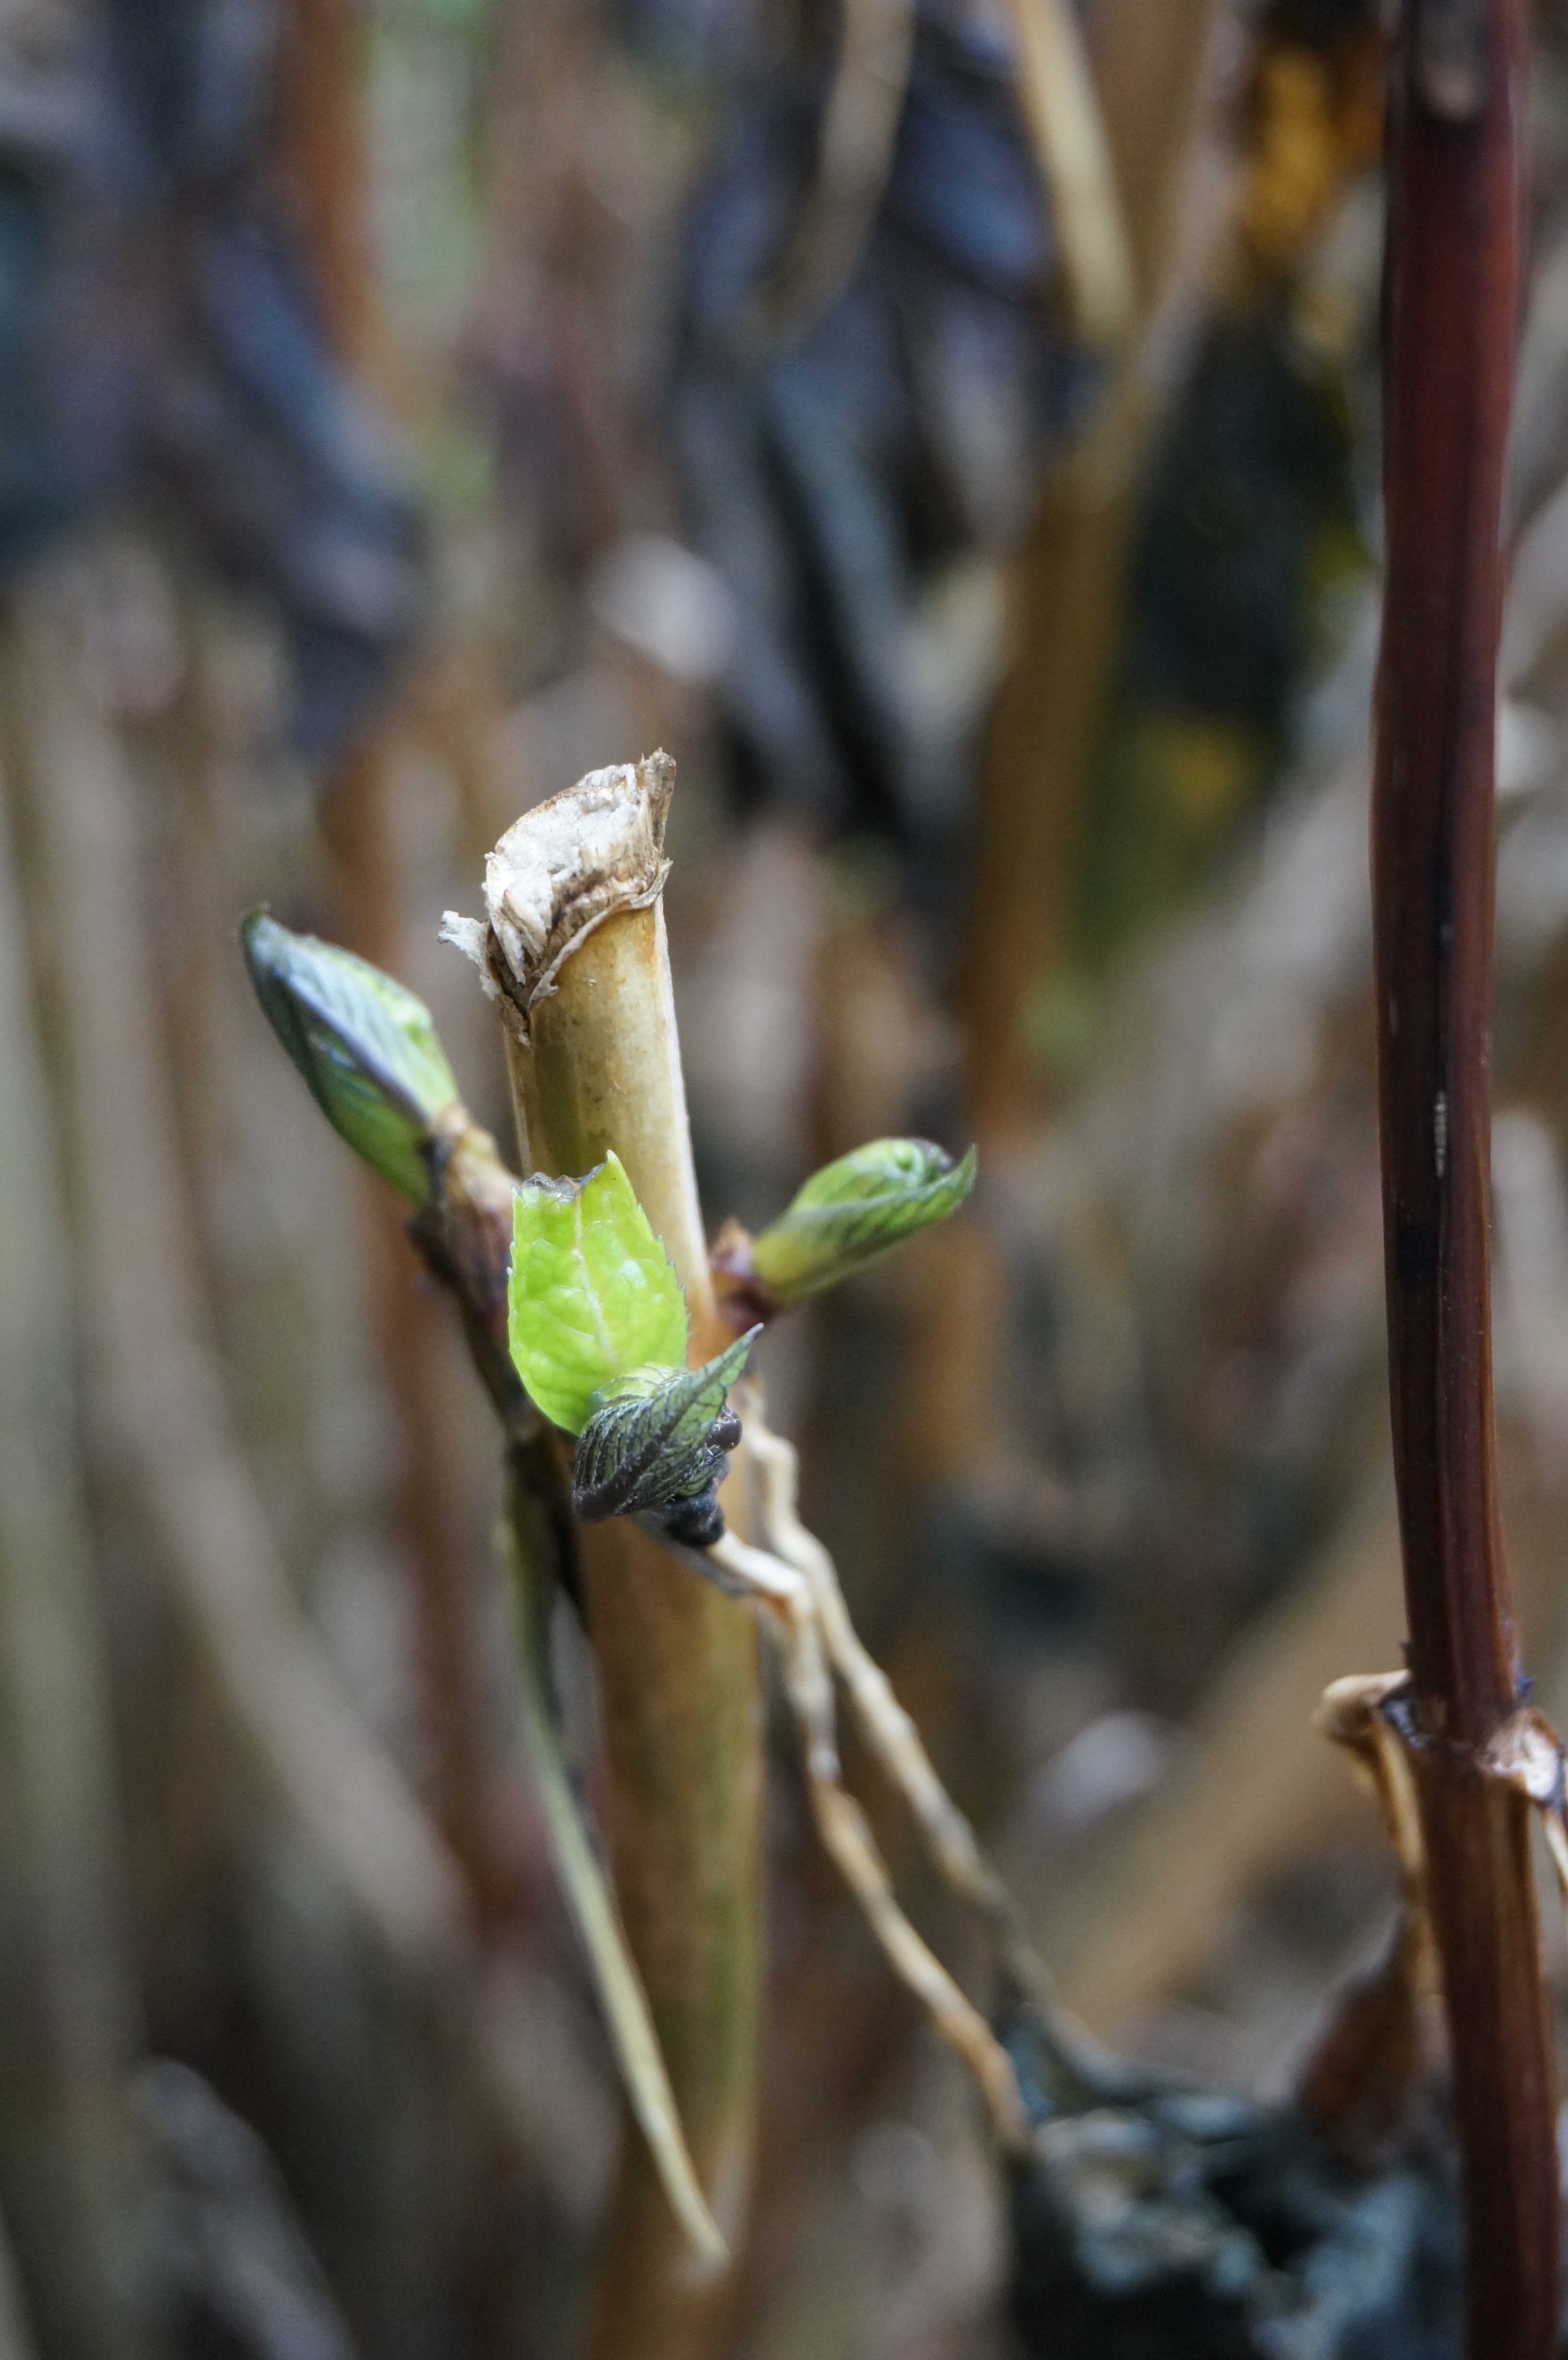
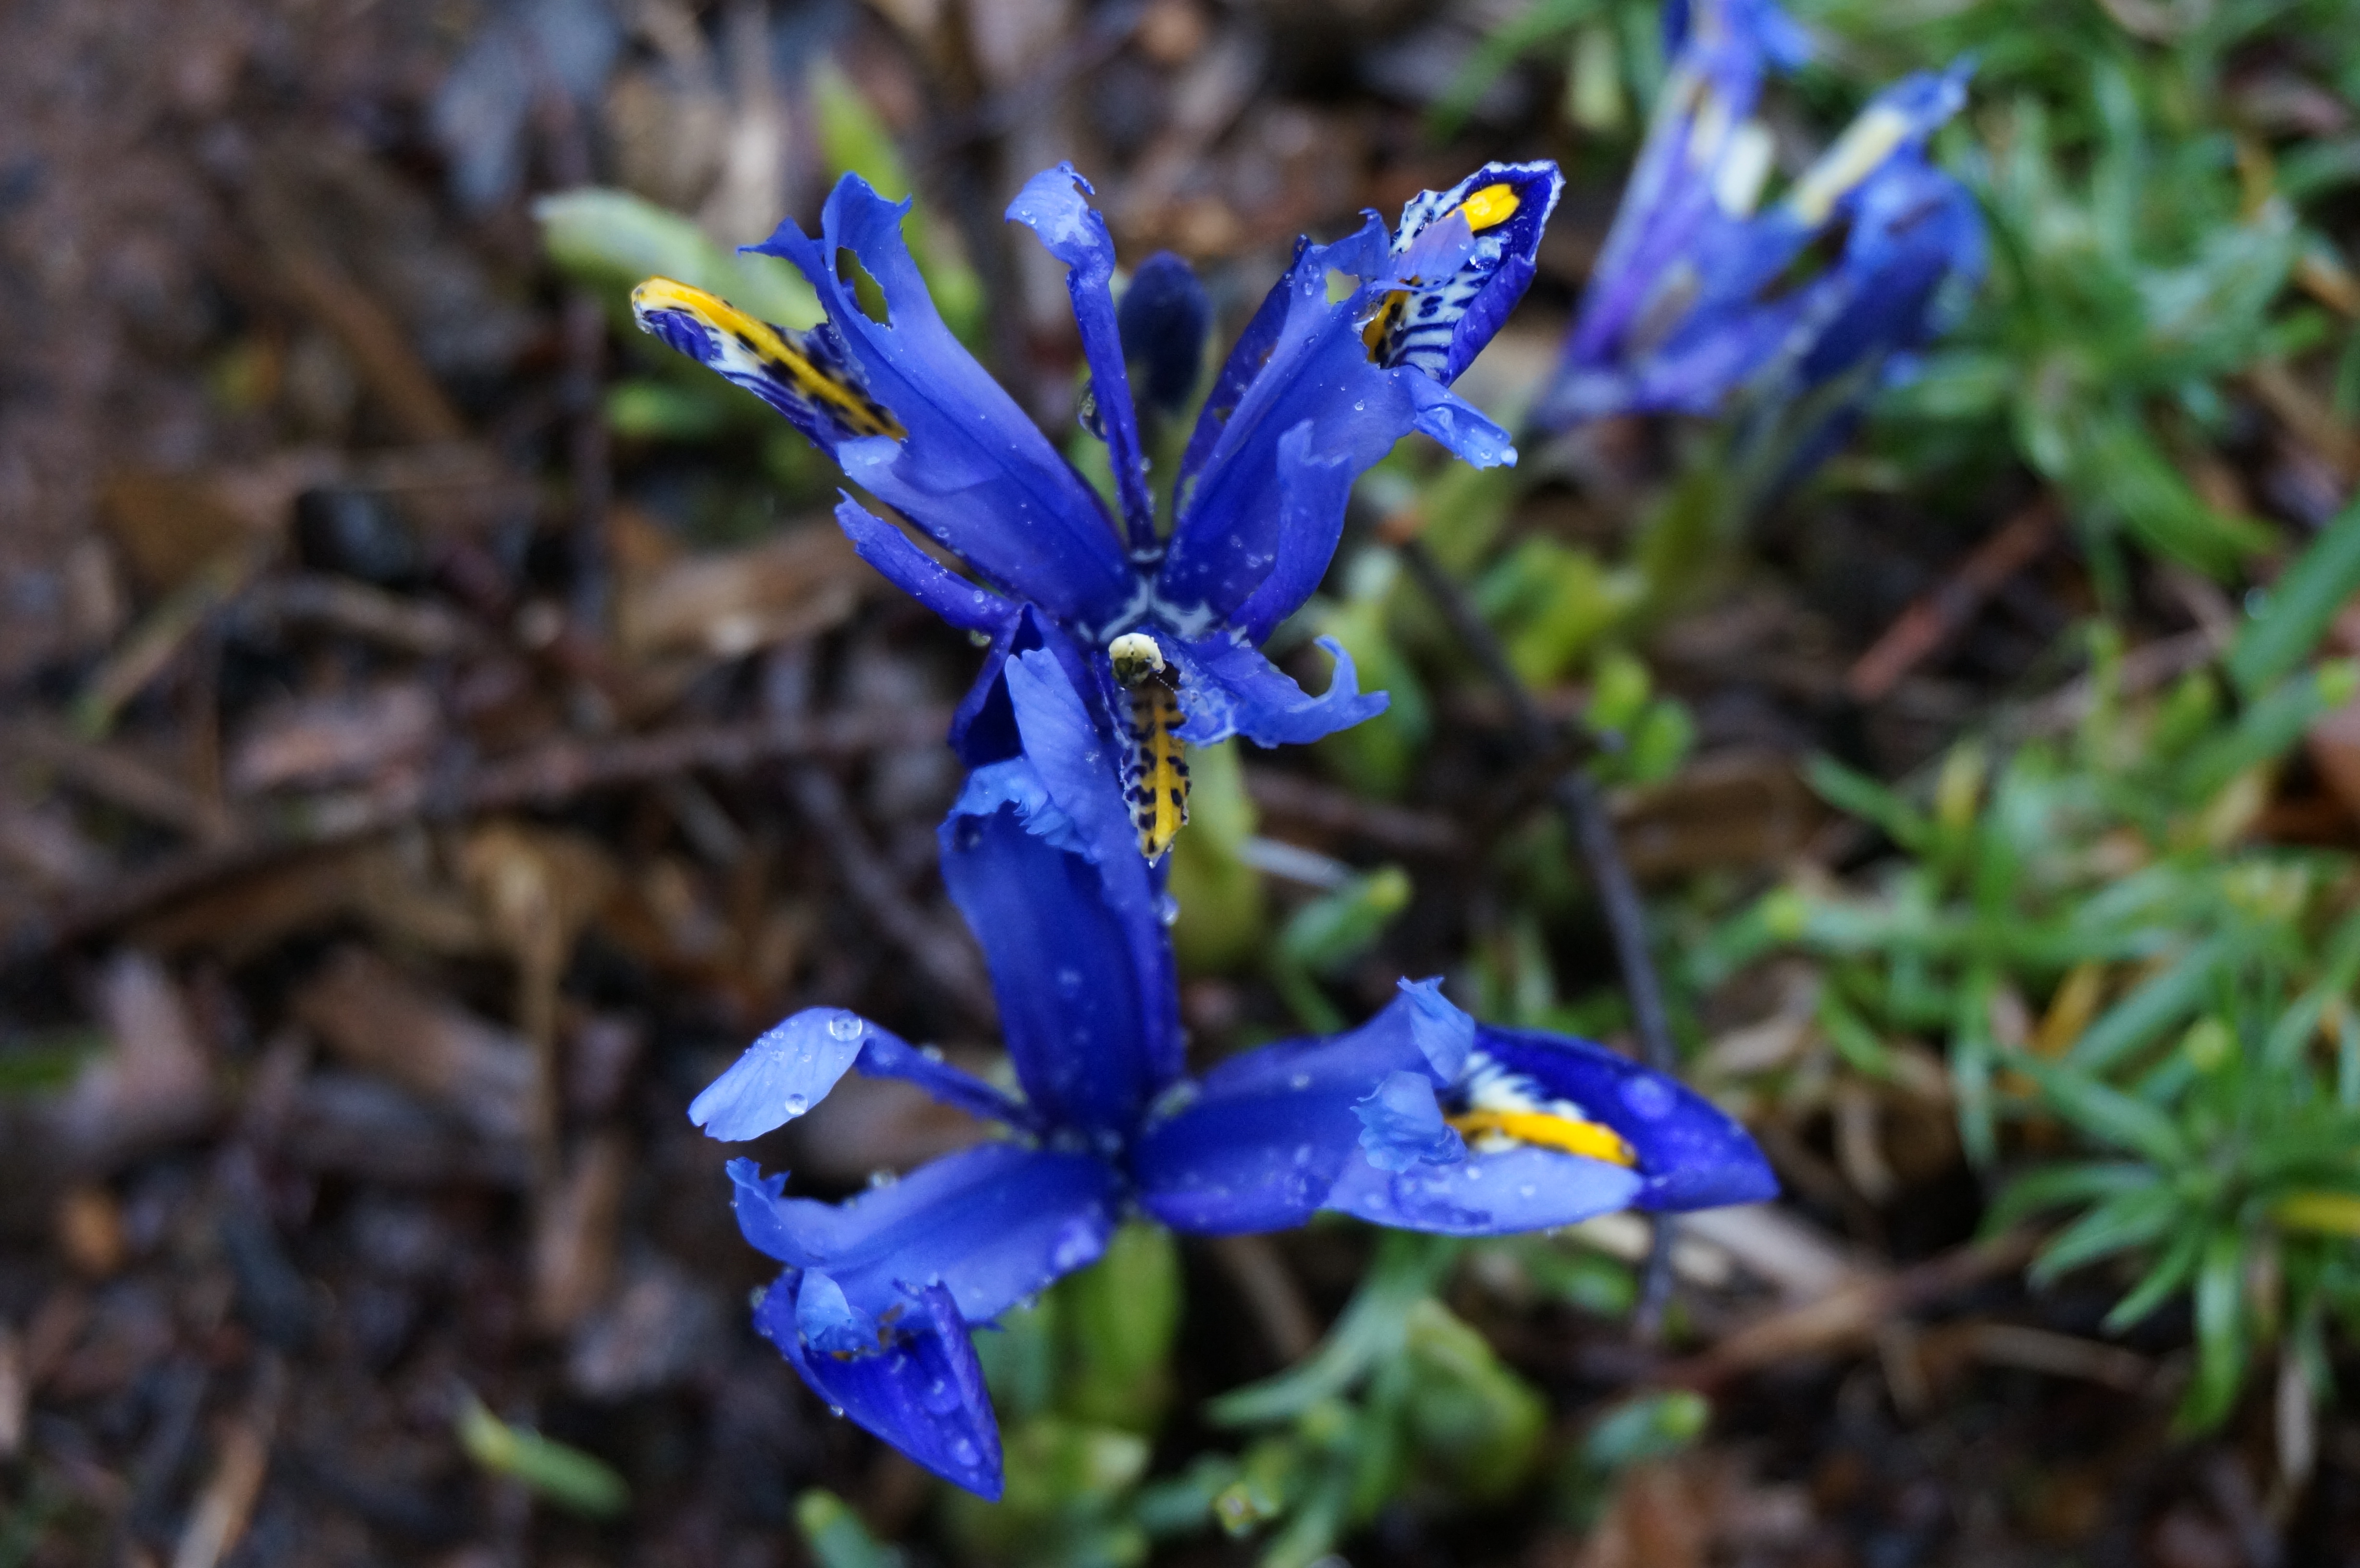
We have a slug problem. I first noticed while doing a pre-spring weeding in the flower and vegetable bed, when I kept turning up the slimy little nibblers in the soil. Then I noticed chunks bitten out of new shoots. Recently, I saw flower buds with bites. But Thursday’s transgression was the worst yet: dwarf iris’s first delicate blooms, the year’s second flowers (hellebore beat them by a week), bitten to pieces! Unacceptable.

Slug-eaten iris. Last straw!

At lunch, I broke our house rules, opened my iPad at the table, and did a search for “slug deterrents.” I found an illustrated article at WikiHow that gave me several ideas, two of which I put into practice.

The first one I’m trying is the cornmeal method. Very easy. Dump cornmeal into a jar. Lay it on its side. The slugs smell it, crawl in, and die, because…I’m not sure why. The article says the texture is too rough, but I’m not sure if it cuts their bodies up or if they die from eating it. Either way, it’s so easy I had to try it.

The second approach I decided on is the yeast-and-honey method. I boiled yeast and honey together, about 1/2 cup each, in a half gallon of water.  I hesitated over the boiling instruction at first, since it would kill the yeast. But then I concluded that this might be a good thing; otherwise we’d have yeast bubbling all over the garden.  I poured the mixture into jelly jars (I wanted to use plastic disposable cups, but we had none). Then I dug a hole in the garden near a patch of tender shoots using my nifty transplanting tool, and sunk a jar into a hole. The idea here is that the slugs will be attracted to the smell of the mixture, crawl in, and be unable to escape, drowning. I only got to place one jar, though, because it was at this point that Sofia did a face plant into a patch of mud and had to be taken inside. Ah, the hazards of gardening with babies on rainy days…

We shall soon see how these are working out! Already, taking Cody out for a bedtime potty venture, I noticed that a cornmeal jar near the back door had attracted two slugs. I’m hopeful that I can save my emerging blooms. To see how these methods worked out, click here.

Hundreds and Thousands and Millions of Sprouts

Well, not quite that many, but dozens, anyway.

We have a big rectangular garden bed with rounded ends, built up with a brick wall to make it level on a slight incline, that’s perfect for veggies. We call it the oval garden, which isn’t quite satisfactory, since it’s not oval, but of course neither is it rectangular. Anyway. This garden was planted with scattered dahlias when we moved in last spring, and there were maybe half a dozen tulips at the far end. I shifted the dahlias when they started to sprout late in the spring, interfering with my rows of peas. They were shrimpy and insignificant. I doubted they’d survive. However, they not only survived, they thrived, producing vividly colored flowers until frost killed them off in the fall. I loved them — but there were far too many of them for the veggie patch. So I determined to shift them, and the tulips.

Obviously this should have been done in the fall, as soon as the foliage died off. But the ground froze before I got to them…and then the holidays were all-consuming…and I just didn’t get to it. So last week I decided to tackle the job at last, hoping I wasn’t too late.

Three tulip sprouts had popped up already. Not too bad, I thought. There were only about half a dozen last year. A little digging, and I’ll have them all out in no time. Ha. Hahaha. Little did I know that tulips multiply! There were DOZENS of the things lurking under the soil, all with yellow-green baby sprouts. I dug…and dug…and dug. Forkful after forkful of bulbs, from barely visible babies to great big fat ones. I filled half of our little red wagon with them. Here are a few pictures of the process: [I have placed pictures here six times now. Each time, in the previewed or published post, they appear at the top of the page instead. I give up. They look prettier there, anyway. Maybe tomorrow it will reset and they’ll remember where they’re supposed to be.]

I replanted as many as I could that afternoon before dark, burying them under trees and in beds all along our winding driveway. I have no idea if this was the correct solution, but since they’d already sprouted underground, putting them back into the ground seemed logical. Then I gave two dozen more to a friend. And then I spent an hour or so the next day planting even more of the things, with Niko’s help. So. Very. Many. (Yes, he’s wearing shorts. And orange-on-orange. How could I deny his need to be a pumpkin that day?)

While I was planting out the tulips, I got distracted by weeds. My ADHD took over, and before I knew it I’d weeded a whole bed while the last six bulbs waited to be planted. And then I was distracted from my distraction by these lovely blooms that my weeding uncovered:

And by these shoots — young rhubarb! Exciting!

Baby rhubarb in January, thriving under leaf mulch and burlap.

Then I tackled the dahlias. These should be easy, I thought. They were so small last spring. Easy peasy. WRONG. They multiply, too! The tubers were monstrous, many-bulbed things, with each bulging root system easily eight inches across. I got as much dirt off as possible, and lay them on paper in a big feed bucket the size of a small pond. (Seriously, you could feed a whole herd of horses from that thing.) I’ll divide and plant those monsters when the frost danger is past…and no doubt I’ll have some to give away, too.

One final tidbit: Sofia sound asleep after an exhausting afternoon of riding on my back while I dug things up and buried other things.

Sound asleep. Relaxing on Mom's back is exhausting!
Sound asleep. Relaxing on Mom’s back is exhausting!

Next project: a long raised bed of overcrowded gladioli to dig up, divide, replant, and (of course) share with friends. Should be easy, right?

Wintergreen

This last summer and fall, Aaron started experimenting with home brewing. He created a cherry wheat Hefeweizen that’s better than anything similar I’ve had yet, using cherries from our tree. He made an apple and a pear ale that both turned out to be very high in alcohol and low in carbonation, more like a wine than an ale, but are delicious despite being not what we expected. And he’s made three batches of root beer.

I didn’t know this before Aaron got interested in brewing, but the distinctive flavor in root beer is wintergreen leaf. When we learned this, we went out and got a couple of different traditionally-brewed root beers and sipped slowly, exploring the flavors — and yes, you really can taste it. However, when Aaron collected ingredients for his first batch of root beer, the brewing supply store didn’t have wintergreen leaf. They did have spearmint. He couldn’t remember for sure which leaf he was supposed to get, saw the spearmint, and decided it must be the right thing. The result was oddly delicious. Not really root beer, but an earthy, slightly herbal, dark-colored brew. It was REALLY GOOD. The brewing supply store still didn’t have wintergreen the second or third times he wanted to make root beer, so he just used spearmint again, knowing it would turn out to be good (though not exactly what one might expect from something called root beer).

Meanwhile, I was learning about wintergreen, trying to find a reliable source so we could try a batch of more traditionally flavored root beer. You can order dried leaves through Amazon, as well as seeds. I thought planting our own might be a good idea. They’re pretty plants, with shiny evergreen leaves and pretty white flowers in spring. The flowers give way to white berries later in summer, and then the berries ripen to bright red in the winter. Planting the seeds can be a bit tricky, as wintergreen is a cool-weather plant. You have to refrigerate the seeds before germinating them, and then you have to sprout them in a wet paper towel before planting. (I got my information at Heirloom Organics and Mother Earth Living.) It sounded a bit daunting, but I was prepared to try.

And then, sometime before Christmas, we were strolling through the little floral and garden section of a nearby New Season’s Market (a charming grocery store chain that originated in the Portland area), and saw… wintergreen! They were attractive little plants in terra cotta pots, and the plant marker confirmed what I’d read: they’re good ground cover, prefer acidic soil, like to be in partly shaded places. Aha! So much easier than planting from seed!

So we’ve had two little wintergreen plants sitting on our porch for a month and a half, waiting for me to decide where to put them. Finally, yesterday, I decided I needed to take care of them before they became hopelessly root bound. I did one more spurt of research and discovered the key: they need sun in morning and shade in the afternoon, and they need to be kept moist when they’re young. Right away I knew where they needed to go.

There’s a vine maple at the end of our larger pond that is perfectly positioned so the rising sun shines at its base. That spot gets light all morning until the sun is high, when the dense leaves of the little maple provide shade. The garden is set up with a sprinkler system, so it’s easy to keep the ground moist, and that area also gets watered when I water the vegetable garden. Perfect.

Yesterday afternoon, I went out with kids and puppy in tow and did some preliminary weed-pulling, then plopped the plants into the ground. With any luck, within a year or two they’ll spread and multiply to the point that we’ll be able to harvest some leaves now and then. Meanwhile, they’ll become more and more decorative as they grow, which is a nice side benefit.

Primroses

Today I stopped at Fred Meyer on the way home from dropping off Niko at preschool, and on the way in I passed by a big display of spring flowers: pansies and primroses for $1.50 each, and cyclamens for about $3. I’m planning to start pansies from seed this year, and I want to do more research before trying a cyclamen, but I couldn’t resist the primroses. Since the display was outside, they should be hardy enough to do fine transplanted outside…I hope…and the ground is just a bit damp, with a light misty rain off and on today, so it seemed like perfect timing.

We already have a few primroses in some shady parts of our garden, but they have tiny flowers nestled deep into leaves and aren’t very showy, though they’re pretty up close. The ones I got today were English primroses, with large, bright flowers on longer stems.

I let Niko come outside after lunch, before his nap (because it would be getting too dark after his nap), and he was so excited to help me plant. He found a miniature trowel and dug holes enthusiastically. He was very serious, too, about his job of choosing which flowers to put where. And now we have six primroses distributed strategically around the garden in spots that are sunny now, but will be shaded in hotter weather by leafy shrubs. They add an attractive, bright pop of color against the rich browns and greens of the winter garden.


Happy Garlic

When I planted my garlic back in October, everything I read said it should be ready to harvest in December or January. I was doubtful. I’ve always lived in places where the garden was covered in at least two feet of snow in December; the idea of harvesting in winter is as fantastic to me as the thought of meeting a unicorn in a forest. However, nothing ventured, nothing gained, as they say, so I planted on faith and more or less forgot about them.

Planting garlic in October.

Yesterday I went out with both kids and the puppy to do some playing and weeding, and was delighted to notice that the tops of the garlic are dying off. This means, or so I’ve read, that the bulbs are mature. Now I’m supposed to stop watering them so they can dry out a bit before digging them up.

Garlic tops are dying off. Almost ready to harvest!

Wait… Stop watering? I live in Oregon. Winter is when we get rain. Plenty of rain. Rain every week. How do I stop watering? I’m actually asking for an answer, if anyone reading this has one. Currently, my tentative plan is to construct a little clear-plastic tent over them, so they can get sun but not water. Is that crazy? Do other people do that? Or do most people just dig them up when the tops finish dying off, and not worry about drying the ground?

In other gardening news: The garden is continuing to slowly wake up. Today I found that the fennel I planted last spring, which died off in the fall, has sent up a fluffy green plume. The mint, which grows in a vigorous, untidy bed near the garden shed, has started putting up delicate baby shoots. And the azalea behind the house has put out new leaves and, possibly, tiny flower buds. I also found some adorably chubby little rosette-shaped sprouts of a plant I never managed to identify last summer, but which put out large, flat-topped, pink flower heads. The flower heads were shaped like Queen Anne’s Lace, but the rest of the plant was completely different.

The kids were thrilled to have more time than usual outside. Niko went straight to his new tire swing, which kept him happy while I collected garden tools, and then he alternately ran back and forth across the yard with Cody and helped me pull weeds. Meanwhile, Sofia roamed the yard with not a single qualm at being so far from me — I kept having to go bring her back as she wandered away. I had put a baby leash on her, but she was too unsteady on her feet to use it to guide her as we walked, and it was far too short to use as a tether. So she just wandered while I kept an eye on her between weed pulls. Uproot — see Sofie peering into the wheelbarrow. Toss a weed into the wheelbarrow — she’s exploring the thyme. Next weed — Sofie’s discovered the blue gazing ball pedestal. She was happy as a clam, playing by herself.

Have I mentioned how much I love living and gardening here?

Ladybug Morning

Saturday morning, I put Sofia’s playpen on the porch and started in to some long-put-off cutting back of dead peonies and ferns while Niko and Cody the puppy chased each other over the lawn. It was such a good feeling to enjoy the fresh air without a heavier-by-the-day one-year-old bouncing up and down on my back. (She refuses to bounce in her bouncy seat, but on my back? Upanddownandupanddown, over and over. Owwwww.)

As I cut the last of the brown fern leaves, I saw a flash of bright red. I leaned in for a closer look. A ladybug!

Cold ladybug
Cold ladybug

I’d always assumed ladybugs just died in the winter, or something, but here was this little guy, perched on a leaf. When I lifted the leaf for a closer look, he rolled across the leaf, tiny legs folded in against his body, too cold to move. I breathed on him, and in a few seconds his legs came out and he started crawling. I gently set his leaf on the trunk of the maple tree in the sunlight. Maybe the sun will warm him enough for him to find a safer spot before my red-breasted sapsucker returns for a snack.

Since I’m a compulsive questioner, I was then forced to do some quick online searches, where I found both facts and photos much better than mine. The National Geographic page was my favorite. It has a whole gallery of ladybug photos, some of which are really beautiful. It also informed me that a ladybug can live 2-3 years.

Feathers and Sprouts

A couple of days ago, I saw a new bird through my kitchen window. He wasn’t at the feeder; instead, he was perched on the broad trunk of the maple tree that grows by our front porch and shades the koi pond. After doing some searching, I concluded that he MIGHT be a red-breasted sapsucker.

Red-breasted sapsucker... probably
Red-breasted sapsucker… probably

Anyway, I carefully crept out onto the porch to get a picture — after snapping a few through the kitchen window, just to be safe — and I got one good one before he flew away. As I turned back to the house, I saw something startling on the hydrangea next to the front door: green buds and emerging leaves! Last year, this plant didn’t put out a single leaf until, if I remember correctly, late May or even June. Perhaps coincidentally, it had also been cut back almost to ground level the previous year. And it had barely flowered. We decided that this year we just wouldn’t cut it at all, since some hydrangeas bloom from second-year canes. So that could be the reason it’s leafing out so early — maybe hydrangeas always do this, and last year the cutting back damaged it? The previous owners also mentioned that last winter had some especially hard freezes that could have slowed growth, too.

Leaf buds on a hydrangea... in December!
Leaf buds on a hydrangea… in December!

Of course I squelched barefoot off the porch to get a picture of the miraculous leaf buds, and as I did, I noticed suspiciously anenome-shaped leaves swaying in the breeze next to the marker labeled “Anenome” that I’d pushed into the soil where I’d planted bulbs. Glancing along the front garden, I saw more green. The kids were inside without me, eating lunch, so I couldn’t prowl around with the camera as much as I wanted to. That had to wait till Friday morning, when Niko was in school and Sofia was napping. I wandered around and found more and more new growth. One that particularly surprised me was the raised bed of chrysanthemums. Last year, the bed was empty until early summer, when the dead-looking roots I’d been refraining from disturbing finally started sending up shoots. I was glad I’d left them, of course. I figured I’d just have to deal with a long bed filled with nothing until midsummer every year. But this year we have green in December. Who knows, maybe they’ll flower in April this year!

And all of this is happening before Christmas. It’s not even midwinter yet. I’m not sure what to think. Do I need to be worried about frost damage? Is this normal? I want to be excited, but as this is my first year gardening in Oregon, I’m reserving judgement.