I'm a temporarily staying-at-home mom of two living in Oregon, learning all over again (after 15 years of city life) how to garden, harvest, and put up food. You might see posts about baking, parenting, crafting, organization – anything that strikes my fancy!
In even the best-kept homes, there might be found an occasional…odor. Nobody likes to mention it, but there it is. Odors. They’re part of life. This is especially true in a home like mine, which contains a baby, a puppy, and a small boy. But even in a home with fewer sources for unpleasant smells, you’ll still find some: in trash cans, refrigerators, old carpets…Smells tend to saturate fabrics or plastic and just hang around.
There’s a solution. It’s inexpensive, nontoxic, and has been used for a long time: baking soda. I sprinkle it into the bottoms of trash cans before adding a bag and over half-filled trash cans, in diaper cans, and over carpets before vacuuming. In the refrigerator and freezer, some baking soda in a little cup can absorb that unpleasant stale smell that can build up. It really is that simple.
But you know me. Simple is great, but sometimes just a little more attention to detail can give even better results. I make an easy mixture that adds a light scent to a room as well as absorbing unwanted odors, and it has the bonus of being a laundry booster as well.
I start with a glass canister with a shaker lid — the kind you see in diners, holding sugar or powdered coffee creamer (ewwww). Fill it halfway up with borax, which, like baking soda, is another odor absorber as well as helping improve laundry detergent efficiency. Then fill it the rest of the way with baking soda. (I always have plenty of baking soda on hand because I buy in bulk, as I use it a lot — for bath soak, laundry stain remover, and other useful purposes as well as baking.) Finally, add a few drops of essential oil and mix it well. I usually use a bit of lavender and some lemon, but whatever you like should work fine. Don’t do too much! Essential oils are very concentrated scents, and you can get an overpowering aroma quickly. Just to give you an idea: I put in 6-8 drops of each oil for this batch, and yes, it was a bit strong.
Assembled ingredients: borax, baking soda, two essential oils.
A few drops of each oil to scent the mixture.
So, a little pouring, a little stirring, and — Voila! A quick room freshener. Where to use it? I sprinkle it over laundry hampers, over the carpet before vacuuming in Niko’s and Sofia’s rooms (both of which have that distinctive small-child odor), and under Niko’s area rug to release a little scent each time we walk across it. I sprinkle a bit into the Diaper Genie each time I drop in a diaper — we do cloth diapers, and the Genie stores them beautifully before washing. It tries hard to block out odor, but it’s not perfect. The baking soda/borax mixture with a little essential oil helps absorb odor, but it also helps get the diapers clean when I wash them. Anywhere you want a little freshening is a good place to sprinkle some of this.
For about a year and a half now, I’ve been frustrated by my failure to perfectly clean Aaron’s white dress shirts. I’ve attributed this failure to harder water in our new home. It could also be that Aaron’s favorite shirts, which have a special coating to keep them wrinkle-free, are losing their protective coating and thus picking up more dirt. Either way, it’s been driving me crazy, as you can read in my recent post “Who Can Find a Virtuous Laundress?”
I had nearly settled on a sort-of-okay stain remover made by blending Resolve Spray & Wash with borax to make a paste, and spreading it over the pre-sprayed dirty collars. This was better than spraying alone, but still left a shadow of a stain. I wasn’t exactly content, but I didn’t know what else to do.
And then Aaron’s aunt and uncle dropped by for an overnight visit, and we got talking about laundry and stains. I told our aunt what I’d tried and how disappointed I was in the results, and she said, “Oh, you need to try Nicole’s stain remover! It’s amazing. It will get anything out.” She texted her daughter Nicole a request for the recipe, and Nicole immediately sent it.
She explained that Nicole, a talented artist, had learned how to make a mixture in an art class to transfer a print from photo to canvas or paper, allowing the artist to combine the mediums of paint and photography. Nicole, who is astute and who also values clean laundry, quickly recognized its potential as a stain remover. When I asked Nicole about it, she explained that the original recipe had included just dish detergent (Dawn, she says: it does matter), baking soda, and hydrogen peroxide, and Nicole’s addition of a natural cleaner called Citrasolv had elevated the spray to the level of a magical cleaning elixir.
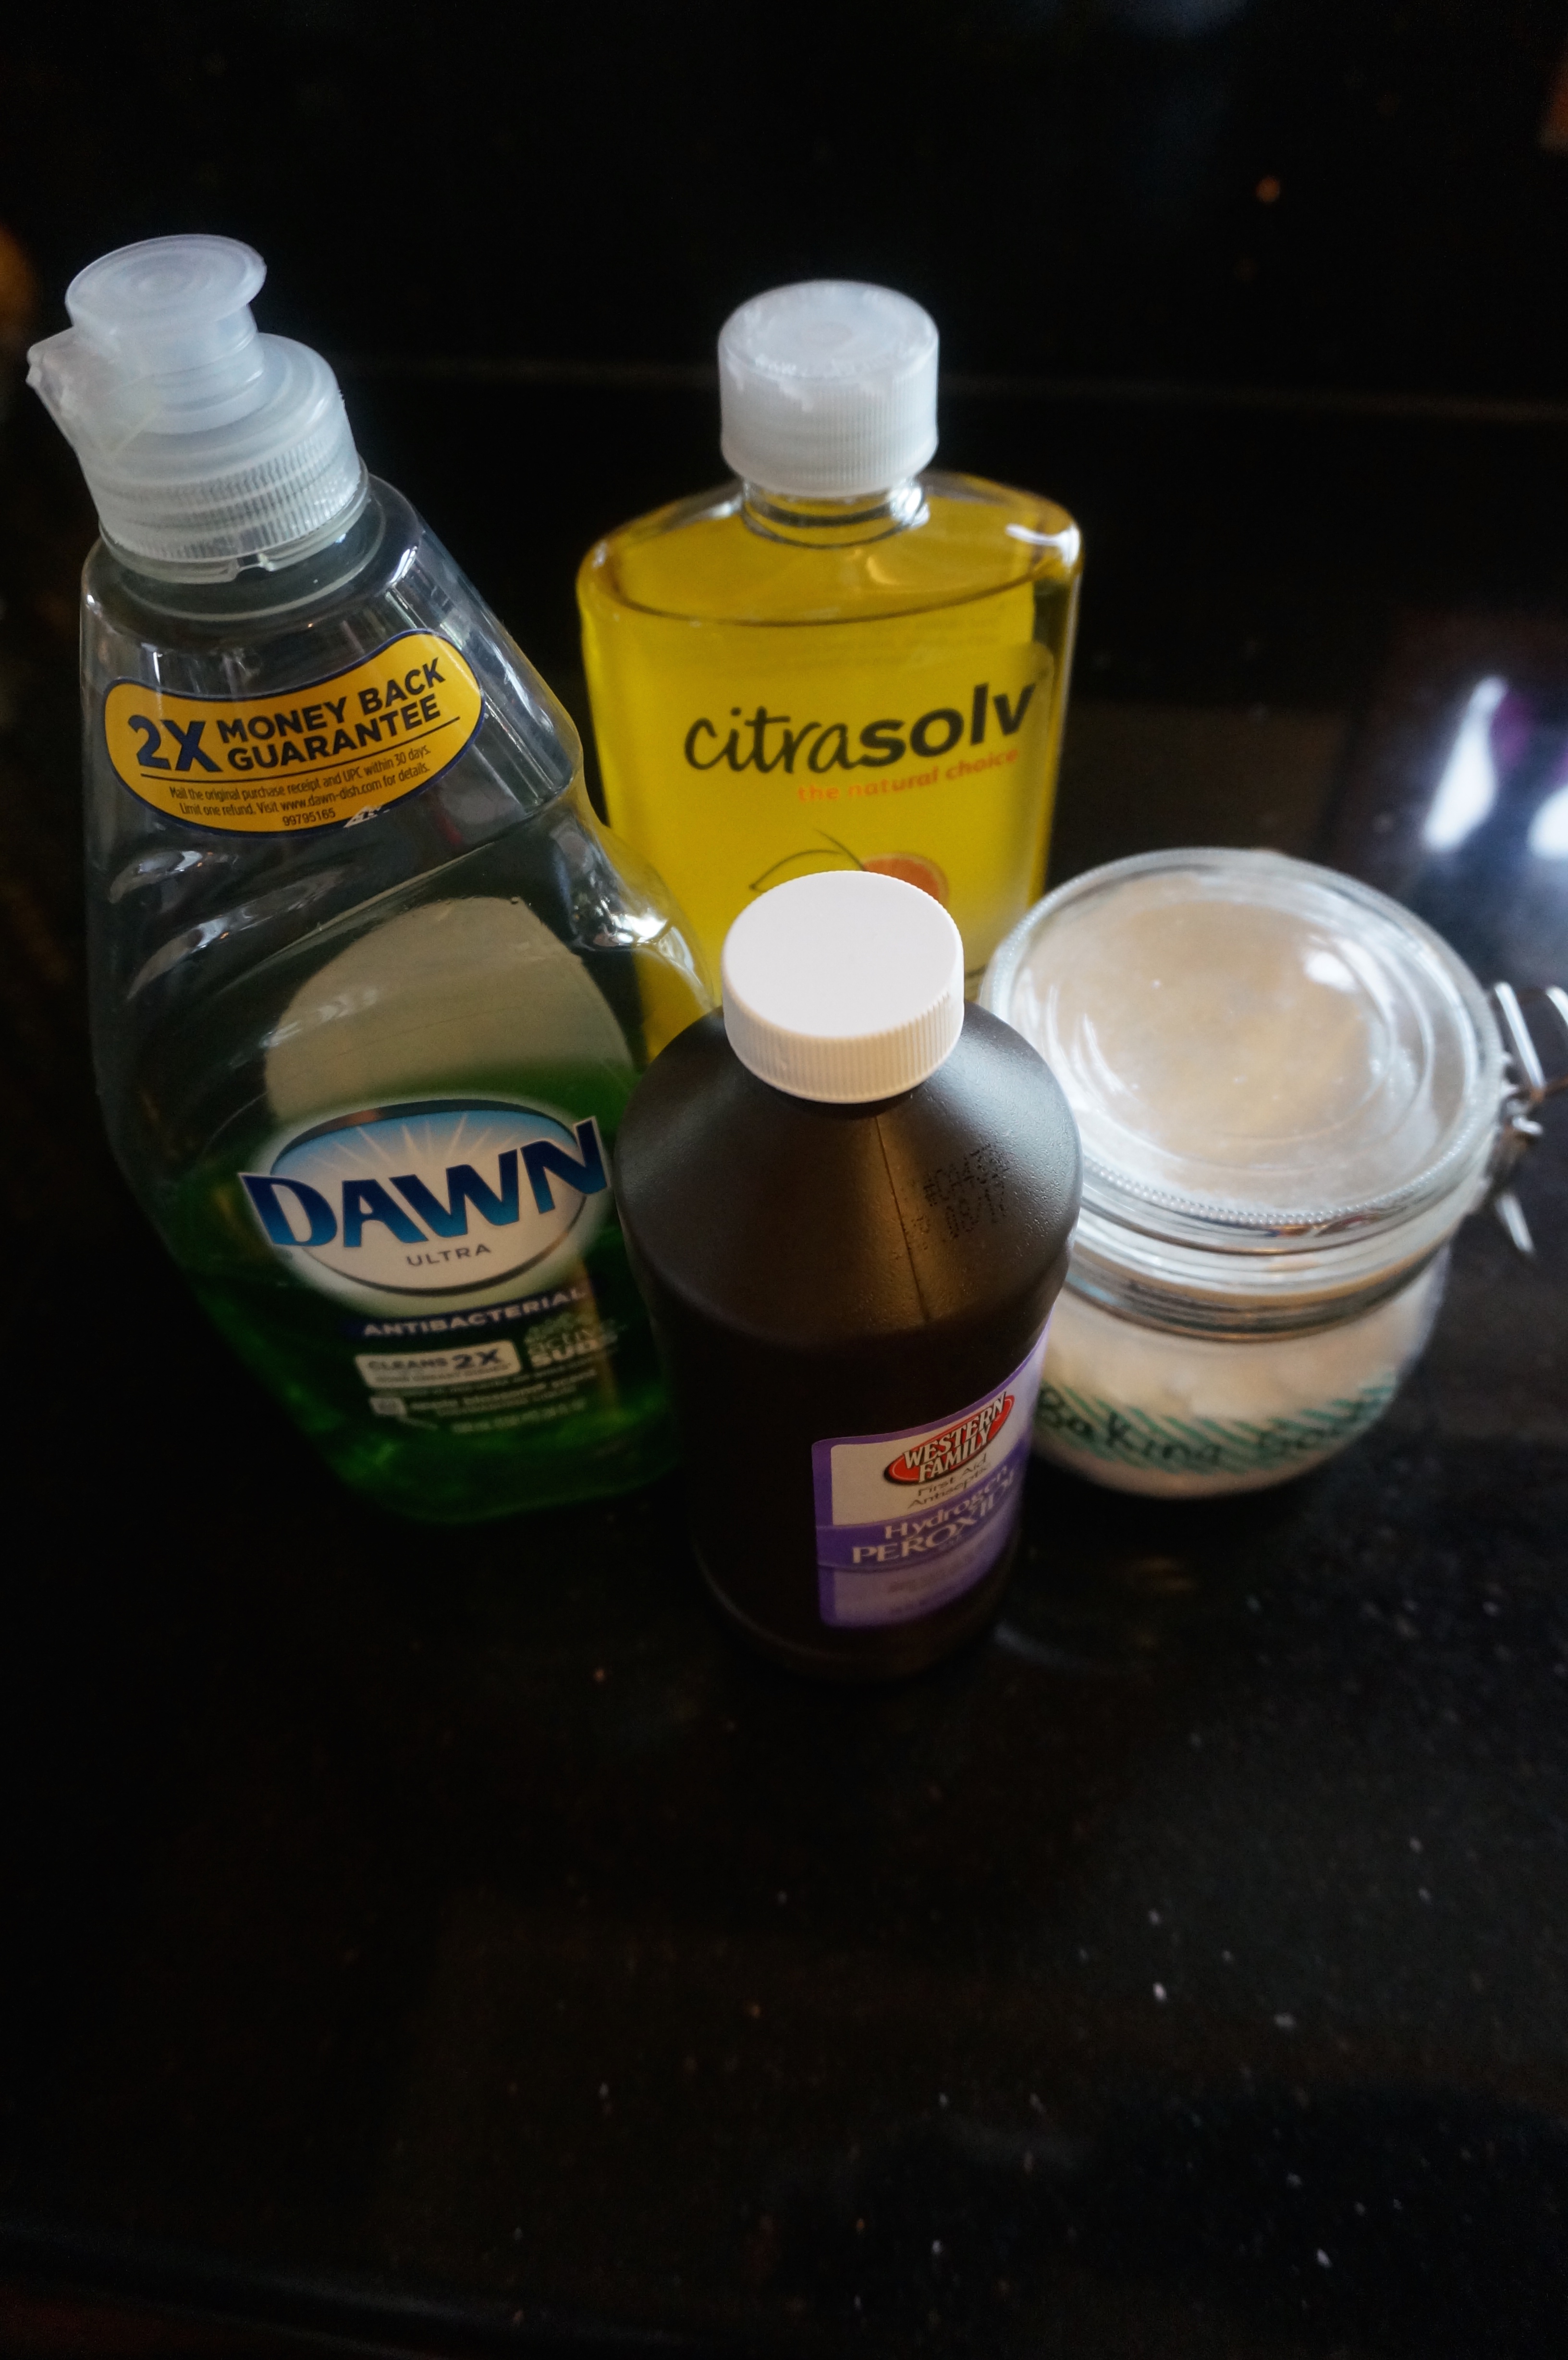
Last weekend, I eagerly gathered my supplies. I already had some Dawn dish soap, and I buy baking soda in bulk, so all I needed was peroxide and Citrasolv. I’d never heard of it before, but I found it easily in the cleaning aisle of our favorite grocery store. In a larger place, the Citrasolv would probably be with the natural cleaners.
Ingredients for Nicole’s Magical Eraser Laundry Spray
Mixing it was fun, like a science experiment without a final exam at the end. The peroxide and Dawn turned sparkly with tiny bubbles. By the time I’d measured and added the concentrated Citrasolv (not the spray version, by the way) — which turned the mixture opaque — the dish soap and peroxide had already mixed themselves. The baking soda added to the bubbles, which quickly died down to leave a pretty, pale-green mixture with a heavenly scent of orange. I poured the mixture into an empty laundry spray bottle.
Peroxide and Dawn
Citrasolv and baking soda make it opaque and a bit foamy.
The label from the Spray & Wash bottle came off with a knife slipped underneath.
It wasn’t long before I had my first experimental laundry ready: a load of diapers. In addition to the ones that, as usual, were in serious need of cleaning, I had some that were just starting to look a tiny bit grungy after 11 months of use. To make sure I knew which ones I’d used the spray on and which were extra-dirty versus just grungy, I attached green ribbon (for extra-dirty) and blue ribbon to the snaps on the diaper covers and inner pads. (I use BumGenius pocket diapers, which have size-adjusting snaps on both the outer covers and the absorbent terrycloth pads.) Then, I washed them as usual, using the Sanitary cycle on my machine with a pre-wash and an extra rinse. By the way: feel free to thank me for not including a “before” photo of those diapers. Just trust me. They were dirty.
For the last few months — since solid food started (parents of babies will understand what I’m talking about) — I’ve found it necessary to also run a “Quick Wash” cycle on the clean diapers to get rid of residual odor. The first thing I noticed when I opened the washer, after doing a load of diapers in which just two covers and three pads were sprayed with the new spray, was that the entire load smelled like fresh oranges. They didn’t just smell clean. They smelled GOOD, making it unnecessary to run another cycle. And I can’t be sure, but I think that some of the diapers that were starting to show just a bit of grunge but that were not sprayed with the new cleaner, looked fresher and whiter. It seemed to me that the whole load, not just the ones with the new treatment, was cleaner after using the spray on just five items. And the ones I’d sprayed were perfect. Not a stain in sight.
Blue ribbon: the diaper was just a bit discolored from use.
Fresh and white!
Green ribbon: This inner pad was pretty disgustingly dirty.
Snowy clean!
I was pretty happy with the diapers. However, they weren’t really my focus. They’ve always come very clean. I think it’s because after rinsing and spraying them with stain remover, they have time to sit in the Diaper Genie, letting the Spray & Wash work away until they’re put in the laundry. Aaron’s shirts, my real cause of distress, never have a chance to soak. And they have been remaining stubbornly less than perfectly white. I had my chance to try the stain remover with one on Saturday. I sprayed. I washed. I dried. I pulled the shirt out…examined it…and…
VICTORY!
That is one clean shirt.
It’s white. It’s crisp. It practically glows with cleanliness. It. Is. Beautiful.
Not so clean.
So much better.
Pretty much perfect.
So. Do you want the recipe? Of course you do. Here it is:
Mix two parts peroxide with one part Dawn (Nicole says yes, it really has to be Dawn) dish soap. Add two capfuls of concentrated Citrasolv and two tablespoons of baking soda. I used a 22-ounce bottle to hold the spray, so my amounts translated to 7 ounces of Dawn, 14 ounces of peroxide, 1 1/2 tablespoons of Citrasolv, and 2 tablespoons of baking soda.
A few notes about this spray:
1. Nicole warned me that if it’s used on dyed natural fabrics like cotton or wool, it can cause bleeding or fading. I didn’t have any pure natural fabrics that were colored to experiment on, but I had some blends. I used the spray on some tempera paint on Niko’s jeans and on a food stain on a pair of Sofia’s pants, both a cotton-polyester fabric. I also used it on a white cotton cardigan of Sofia’s that was looking a little grungy. My worry with this one wasn’t that it might bleed or fade, obviously, but that it might cause something else in the laundry to do so and thus become discolored. All three of these items were just fine — stain-free, with no bleeding, fading, or color transfer. I’m pretty sure the fact that the darker ones were blends accounts for their colorfastness. And Sofia’s cardigan was in the load of delicates, which rarely has anything dark in it anyway. So, although I haven’t experienced it firsthand, Nicole’s advice still stands: It’s best not to use it on a colored natural fabric unless you’re prepared for the consequences.
2. The spray is a bit foamy. What this meant for me was that the empty Resolve Spray & Wash container had a hard time spraying it. After several good squirts, it would give up working and only send out some halfhearted bubbles. This was easily fixable by taking out the spray straw, inserting it into some water, and spraying until water replaced the bubbles completely. Then it would keep spraying the cleaner for some time. Of course, putting in another nozzle and straw was even easier. I had three empties on hand, so that worked well for me. You could also use a bowl and sponge. Not with diapers, though. No double-dipping there!
3. When I stored it in my garage, it overflowed. It made a mess on the shelf and I lost quite a bit. (On a positive note: That shelf is REALLY clean now.) I didn’t see it happening, but I think it rose up through the straw and out the nozzle. I suspect that loosening the nozzle so that there’s air flow inside the bottle might be the solution, but I haven’t had time to experiment with this with a full bottle. You could also stand the bottle inside a plastic container so as not to have to worry about mess. (Update: I made a giant batch in a big 72-ounce bottle with an ordinary screw cap, and the bottle swelled up before finally overflowing. So yes, set the bottle in a container to catch overflow.)
4. I’m updating this post after a couple of months of using the spray to add that it seems to lose a bit of effectiveness in a large batch. I’ve come to the conclusion that the foaminess I noted in #2 above is a result of a small chemical reaction, not just suds, and that this reaction is necessary for the cleaner to be highly effective. Once the reaction stops, the stains don’t lift in quite the same amazing way, though it’s still pretty good.
5. One more detail for cloth diaperers, with an advance apology for grossness: you MUST rinse the dirty diapers before spraying, even if there’s only a little bit of residue left after tipping the…uh…solid waste into the toilet. The spray seems to need complete contact with the fabric to work. I found this out the hard way. Yuck.
Other than these considerations, this spray is amazing. It is the bee’s knees. It works better than commercially available laundry sprays; it smells delightful; and it’s fun (and inexpensive) to make. Thank you, Nicole, for sharing your recipe, and a big thanks as well to Nicole’s mom for passing the idea on to me!